01
Makeup Tips
Eyeshadow placement, blending techniques, and common mistakes to avoid for a more open, lifted look.
Explore →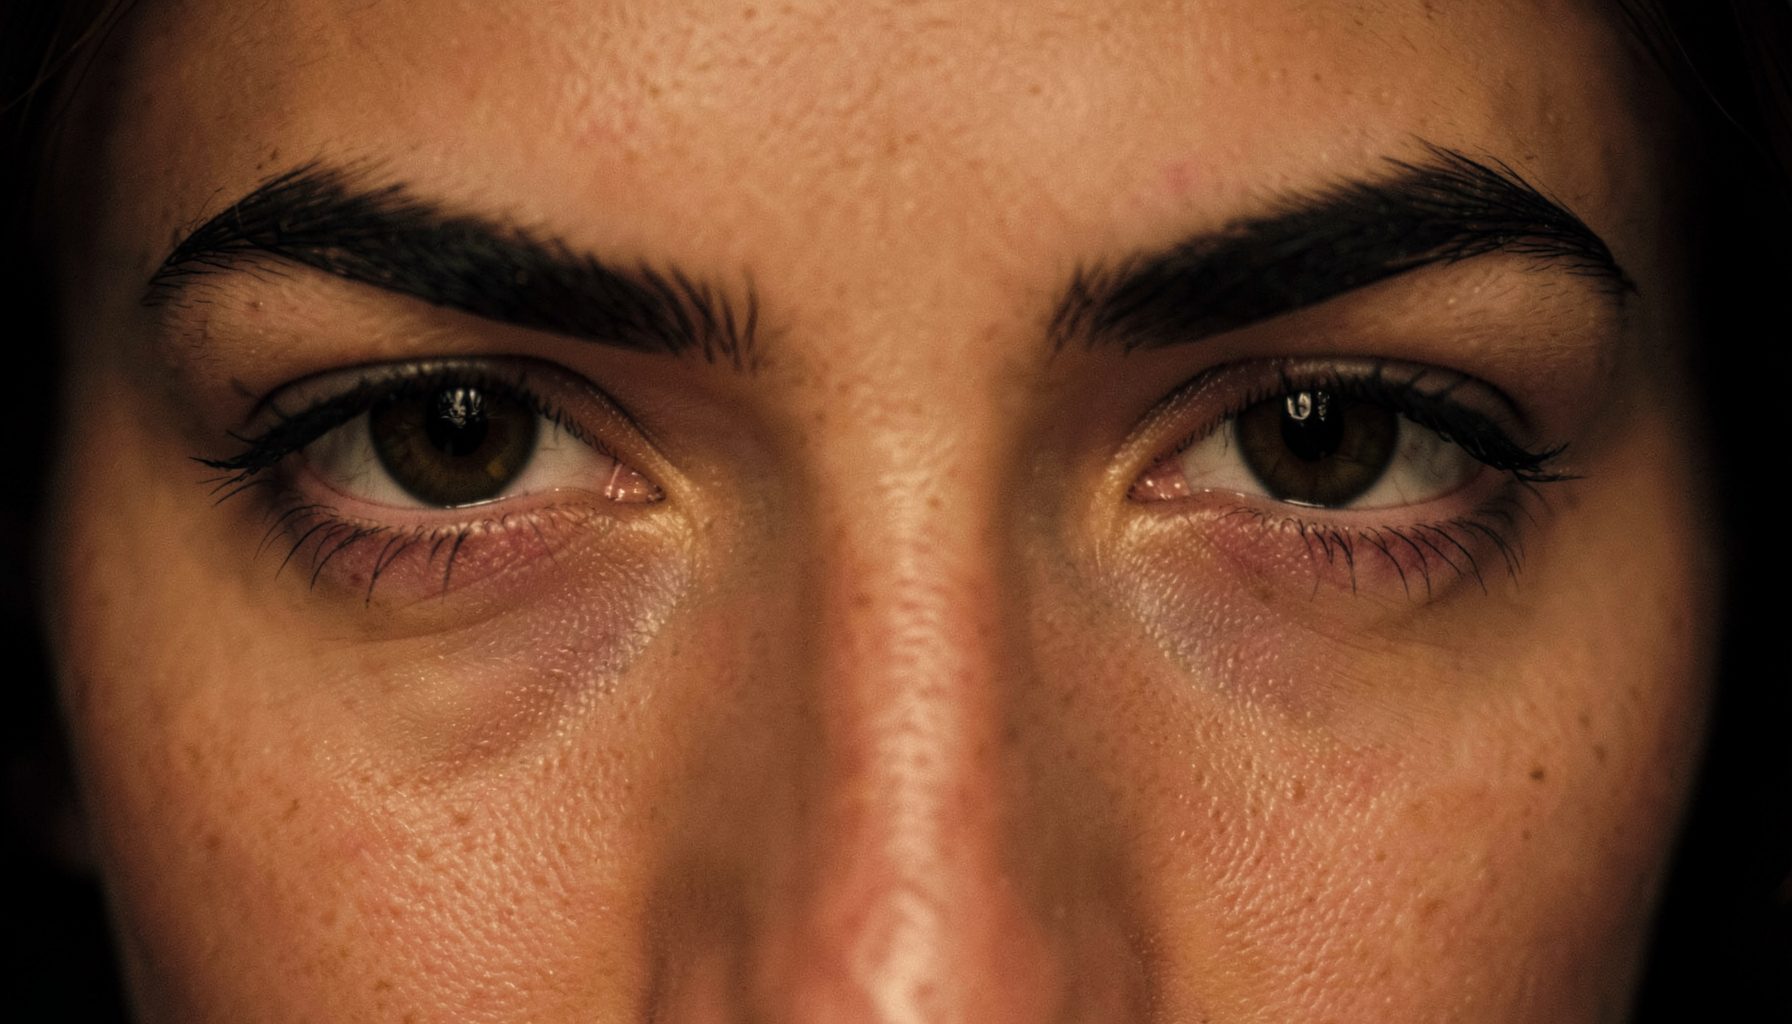
Eye Shape Guide
Understand your eye shape, master makeup techniques, and explore every treatment option — from Botox brow lifts to surgical solutions.
Explore the Site
Eyeshadow placement, blending techniques, and common mistakes to avoid for a more open, lifted look.
Explore →Winged liner, smudge prevention, and techniques that work with hooded lids to make eyes appear larger.
Explore →Non-surgical Botox brow lifts and surgical options including blepharoplasty, explained clearly.
Explore →Five false lash styles suited to hooded eyes, plus curler and mascara guidance for maximum lift.
Explore →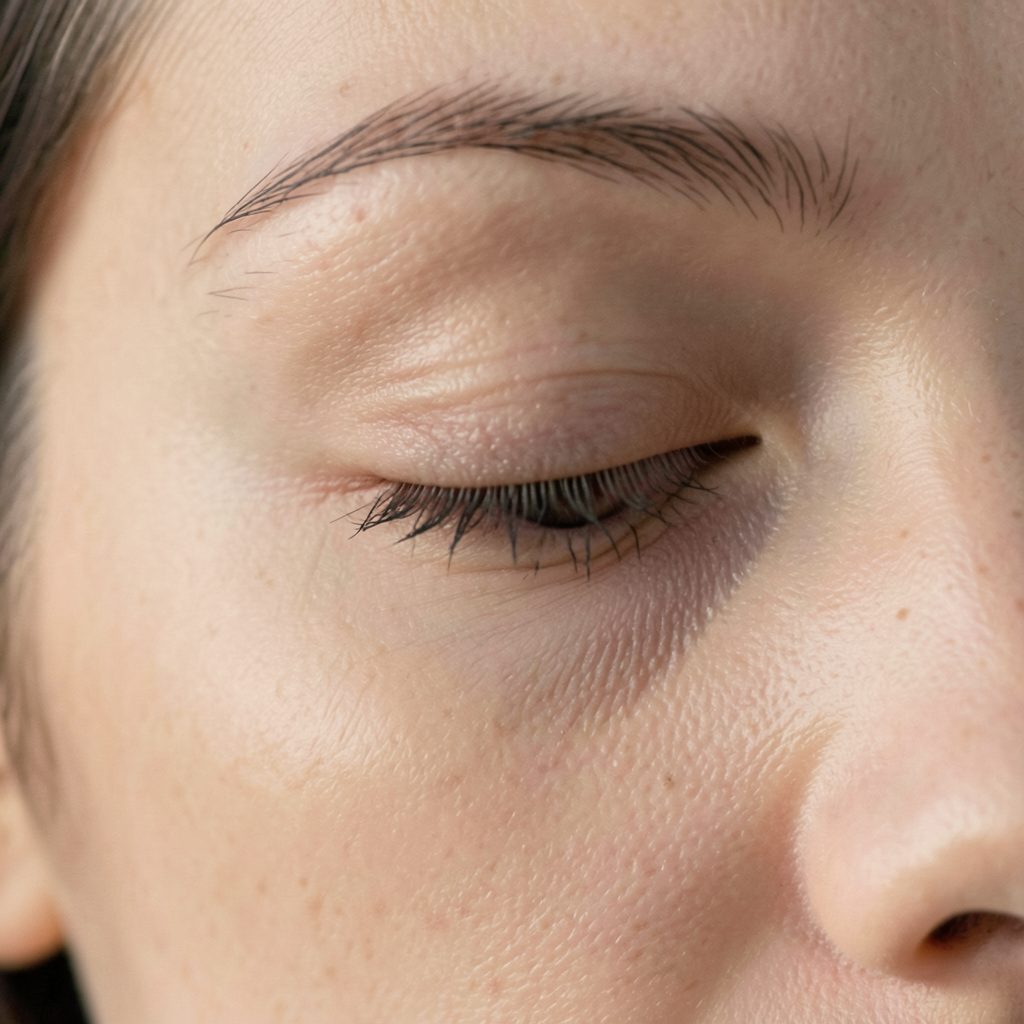
What Are Hooded Eyes?
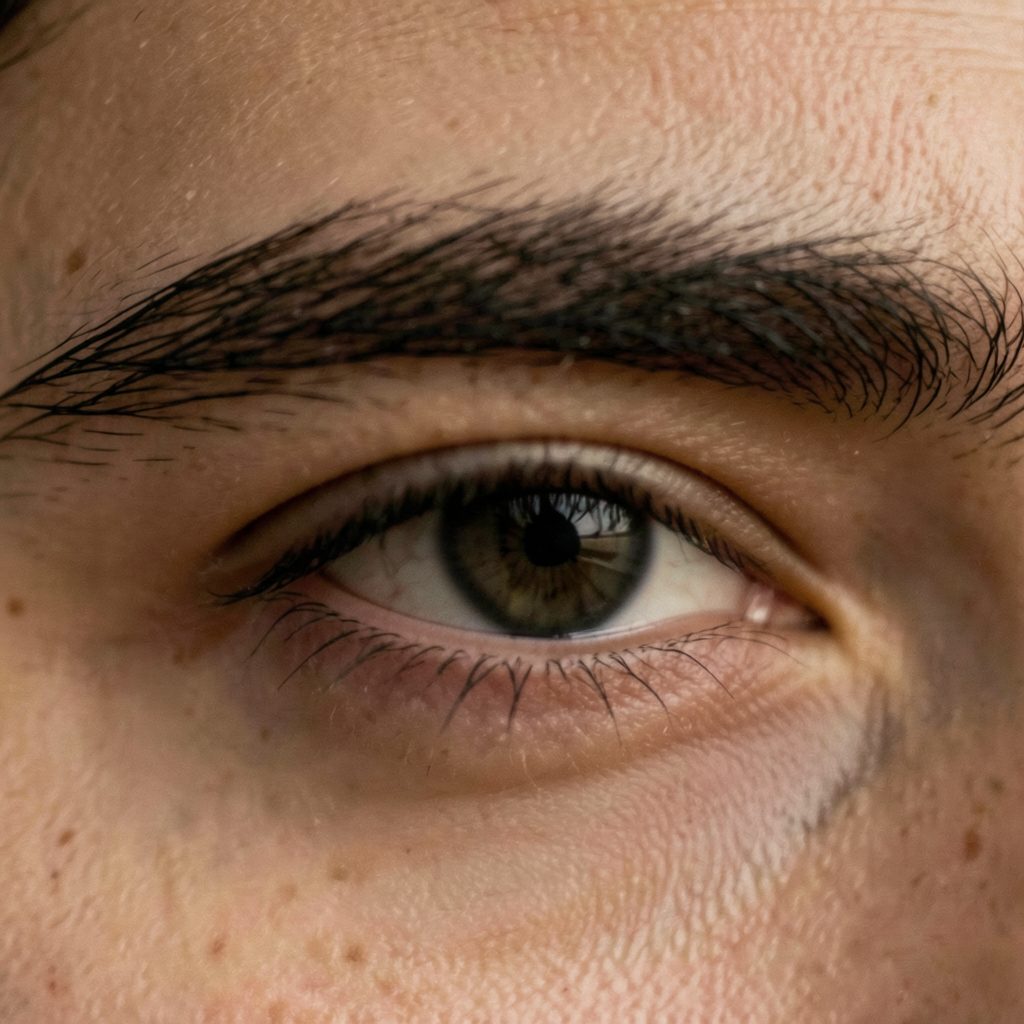
Hooded eyes are a natural eye shape where an excess piece of skin from the brow bone partially or completely covers the eyelid. The result can make eyes appear smaller or more tired than they feel.
This shape can be present from birth due to genetics, or it can develop over time. Known causes include aging, genetic traits, eye rubbing, body fatness, muscle structure, trauma, solar radiation, and sleep apnea.
Hooded eyes have a fold of skin that partially covers the mobile eyelid, so a wing that looks sleek with the eye closed can disappear, smudge, or appear uneven when the eyes are open. Tape offers a simple way to create a crisp guideline, especially when the natural crease makes freehand eyeliner difficult.
The method is useful for everyday makeup and more defined evening looks, but it works best when the tape is treated as a guide rather than a stencil for the entire eye. Skin preparation, placement, pressure, and removal all affect the result. With the right approach, you can create a lifted wing that suits your eye shape instead of forcing a standard eyeliner style onto it.
Use low-tack cosmetic tape, sensitive-skin medical tape, or a finely textured paper tape designed for delicate skin. Avoid strong packing tape, glossy stationery tape, and any product that leaves a heavy adhesive film. The skin around the eyes is thin, and repeated pulling can cause redness or irritation.
Many Australians can find suitable options through pharmacies such as Chemist Warehouse or Priceline, while beauty retailers including Mecca may stock cosmetic accessories. Check the packaging for sensitive-skin suitability, and remember that a product marketed for facial use is still worth patch testing. Adhesive reactions can develop even when a tape has been used safely elsewhere on the body.
Before applying it near your eye, press a small piece onto the inside of your wrist or along the jawline for several minutes. If the area becomes itchy, hot, swollen, or unusually red, choose another tape. Never place tape directly over the lash line, on broken skin, or across the delicate inner corner.
Start with clean, dry skin. Remove skincare residue and excess oil with a gentle cleanser or a small amount of micellar water, then allow the area to dry completely. Rich eye cream, facial oil, or a dewy sunscreen can weaken the adhesive and cause the tape to slide while you work.
If you wear eyeshadow primer, apply a thin layer only to the lid and blend it towards the brow bone. Let it set before placing the tape. A light layer of matte neutral shadow can also help control oil, though avoid building powder directly under the adhesive because loose particles may prevent it from sitting flat.
Cut two short pieces of tape and soften the adhesive by pressing each strip once against the back of your hand. This reduces the initial grip without removing its usefulness. For very sensitive skin, you can stick the tape to your hand twice before using it on the face. The goal is a firm edge that lifts away cleanly.
Look straight ahead into a mirror with your face relaxed. Do not raise your eyebrows or stretch the eyelid, because that changes the position of the hood. Place the tape from the outer corner towards the end of the eyebrow, following the natural angle of the lower lash line. The strip should create an upward path rather than pointing sharply towards the temple.
For hooded eyes, the visible wing often needs to extend slightly beyond the outer fold before it turns upward. If the tape follows the crease too closely, the eyeliner may vanish when the eye opens. Press the strip gently along the outer corner while keeping the inner end away from the lashes. Leave enough space to draw the line without getting product onto the adhesive edge.
Open and close the eye several times before applying makeup. The tape should remain comfortable and should not tug at the outer corner. If the crease touches the tape or the strip folds when you blink, reposition it lower or use a shorter piece. Every eye is different, and one side may need a subtly different angle.
Tape is most helpful for the outer wing, not necessarily for mapping the entire eyeliner. A narrow strip can guide a sharp flick while allowing you to shape the liner around the natural folds of the lid. This is particularly useful for a bat-wing style, where the line bends around the hood rather than disappearing into it. A detailed explanation of this approach appears in this bat-wing eyeliner guide.
Use a fine angled brush, a pointed eyeliner brush, or a slim felt-tip pen. Gel liner gives a rich finish and allows some working time, while liquid liner produces a sharper edge once dry. Beginners often find a pencil easier to control, although a soft pencil can transfer onto the hood unless it is set with matching eyeshadow.
Begin at the outer corner and draw along the tape with small strokes. Keep the first line thin; you can make it thicker after checking the eye open. Then connect the wing to the upper lash line, concentrating pigment between the lashes rather than drawing a heavy stripe across the entire hooded lid.
Open the eye and inspect the shape before filling it in. The visible section should still look lifted when the eye is relaxed. If the wing disappears under the fold, extend the upper edge slightly above the crease while keeping the base connected to the outer lashes. Avoid dragging a thick line through the deepest fold, as this is where creasing and transfer are most likely.
For a softer daytime result, press dark brown or charcoal eyeshadow over pencil liner. For a polished event look, add a second, very thin layer of black gel or liquid liner after the first has dried. Cream-to-powder formulas can help create a stable surrounding look; these cream-to-powder shadows are particularly practical when you want colour that sets without leaving a wet finish beneath the hood.
Allow the liner to set before peeling away the tape. Liquid products may need a little longer than pencil, especially in a warm or humid room. Begin at the outer corner and pull the strip slowly back over itself, keeping it close to the skin rather than lifting it straight up.
If the tape feels stuck, press a clean cotton bud moistened with a little cleansing oil or eye makeup remover along the edge. Wait briefly, then loosen it gently. Never rip the tape away, as the sudden pull can irritate the skin and disturb the outer-corner area.
After removal, inspect both wings with your eyes open and relaxed. A tiny gap or uneven edge can be corrected with a pointed cotton bud dipped in remover. Use a small flat brush and concealer to sharpen the area below the wing, but avoid covering too much of the outer lid, which can make the eye look shorter.
A little liner transfer may occur later if the hood rests heavily on the lid. Set the line with a matching matte eyeshadow, or use a waterproof formula for long days. In Brisbane’s humid weather or during a summer event in Sydney, this extra setting step can make a noticeable difference. In cooler Melbourne conditions, the bigger issue may be watery eyes or changing weather, so keep a cotton bud in your makeup bag for quick corrections.
For a natural wing, use brown liner, a shorter tape strip, and a lower angle that follows the lower lash line. Keep the wing narrow and stop before it reaches the highest point of the hood. This creates definition without taking over the visible eyelid space.
For a classic black cat-eye, use the tape to establish the outer edge, then shape the upper border with the eye open. The inner liner can remain fine and gradually thicken towards the outer third. Tightlining the upper lash line can fill gaps between the lashes while keeping the visible line from becoming too heavy.
Graphic eyeliner requires more caution. Bright colours, sharp geometric points, or a floating line can look striking, but hooded skin may fold over the design. Sketch the placement with a pale pencil first and check it while looking directly ahead. If the pattern disappears when you relax your brow, move it higher or simplify the shape.
False lashes and mascara should support the wing rather than conceal it. Curl the lashes before applying mascara, concentrating extra product on the outer lashes for a lifted effect. Choose a lightweight lash with a tapered outer edge; a dense, straight band can press into the hood and make the eye appear more closed. Waterproof mascara is useful in Australia’s hot weather, but remove it carefully at night to avoid rubbing the skin.
Tape should remain an occasional makeup tool rather than something used every day without thought. Take breaks if the outer corners become dry or sensitive, and remove all eye makeup before sleeping. If you experience persistent swelling, rash, pain, or watering after using adhesive or eyeliner, stop using the product and seek advice from a pharmacist, optometrist, or medical professional.
Practise the placement before an important occasion, such as a wedding, Melbourne Cup gathering, or evening out in Sydney. Take a quick photo with your eyes open and relaxed, since the camera often reveals whether the wing is balanced more clearly than a close mirror. With repetition, you may need only a small piece of tape—or eventually no tape at all—to reproduce the angle.
Use a gentle tape, keep the guide outside the lash line, and judge the wing with your eyes open. Save the technique as part of your hooded-eye makeup routine, test it under your usual Australian conditions, and refine the angle until it gives you a clean, lifted result that still looks natural when you blink.
Surgical Option
For those seeking a more lasting result, plastic surgery — including blepharoplasty — is covered as a treatment option for hooded eyes. Surgery addresses the excess skin directly and is considered an alternative to non-surgical approaches like Botox.
The site's surgery guide explains the procedure, what to expect, and how it compares to non-surgical routes, helping readers make informed decisions about their options.
Read the Surgery Guide →Famous Faces
Hooded eyes can enhance facial expressions and contribute to a distinctive, memorable look. These ten well-known figures all share the eye shape.
Jennifer Aniston
Leonardo DiCaprio
Solange Knowles
Taylor Swift
Michelle Williams
Robert Pattinson
Blake Lively
Selena Gomez
Gigi Hadid
Benicio del Toro
Side by Side
False Lash Guide
Varied length spikes create texture and the illusion of depth without weighing down the lid.
Longer outer-corner lashes draw the eye outward and upward, counteracting the hood effect.
A uniform, moderate length that adds definition without overwhelming a hooded lid.
Applied only to the outer half, these open up the eye shape and are easier to manage on hooded lids.
A strong upward curl (D or L curl) lifts lashes away from the hood, keeping them visible throughout the day.
The guide also covers lash curlers, mascara recommendations, and step-by-step instructions for fixing false lashes on hooded eyelids.
Full Lash Guide →Get in Touch
Whether you are just beginning your makeup journey or have been experimenting with different looks for years, we are glad you are here.
General Feedback
Share your thoughts on the site or suggest topics you'd like covered.
Looking for a Specific Tip?
Ask about a particular technique or eye-shape challenge.
Product Questions
Questions about products mentioned across the site.
Human Resources or Business Inquiries
Partnership, collaboration, or business-related correspondence.