01
Makeup Tips
Eyeshadow placement, blending techniques, and common mistakes to avoid for a more open, lifted look.
Explore →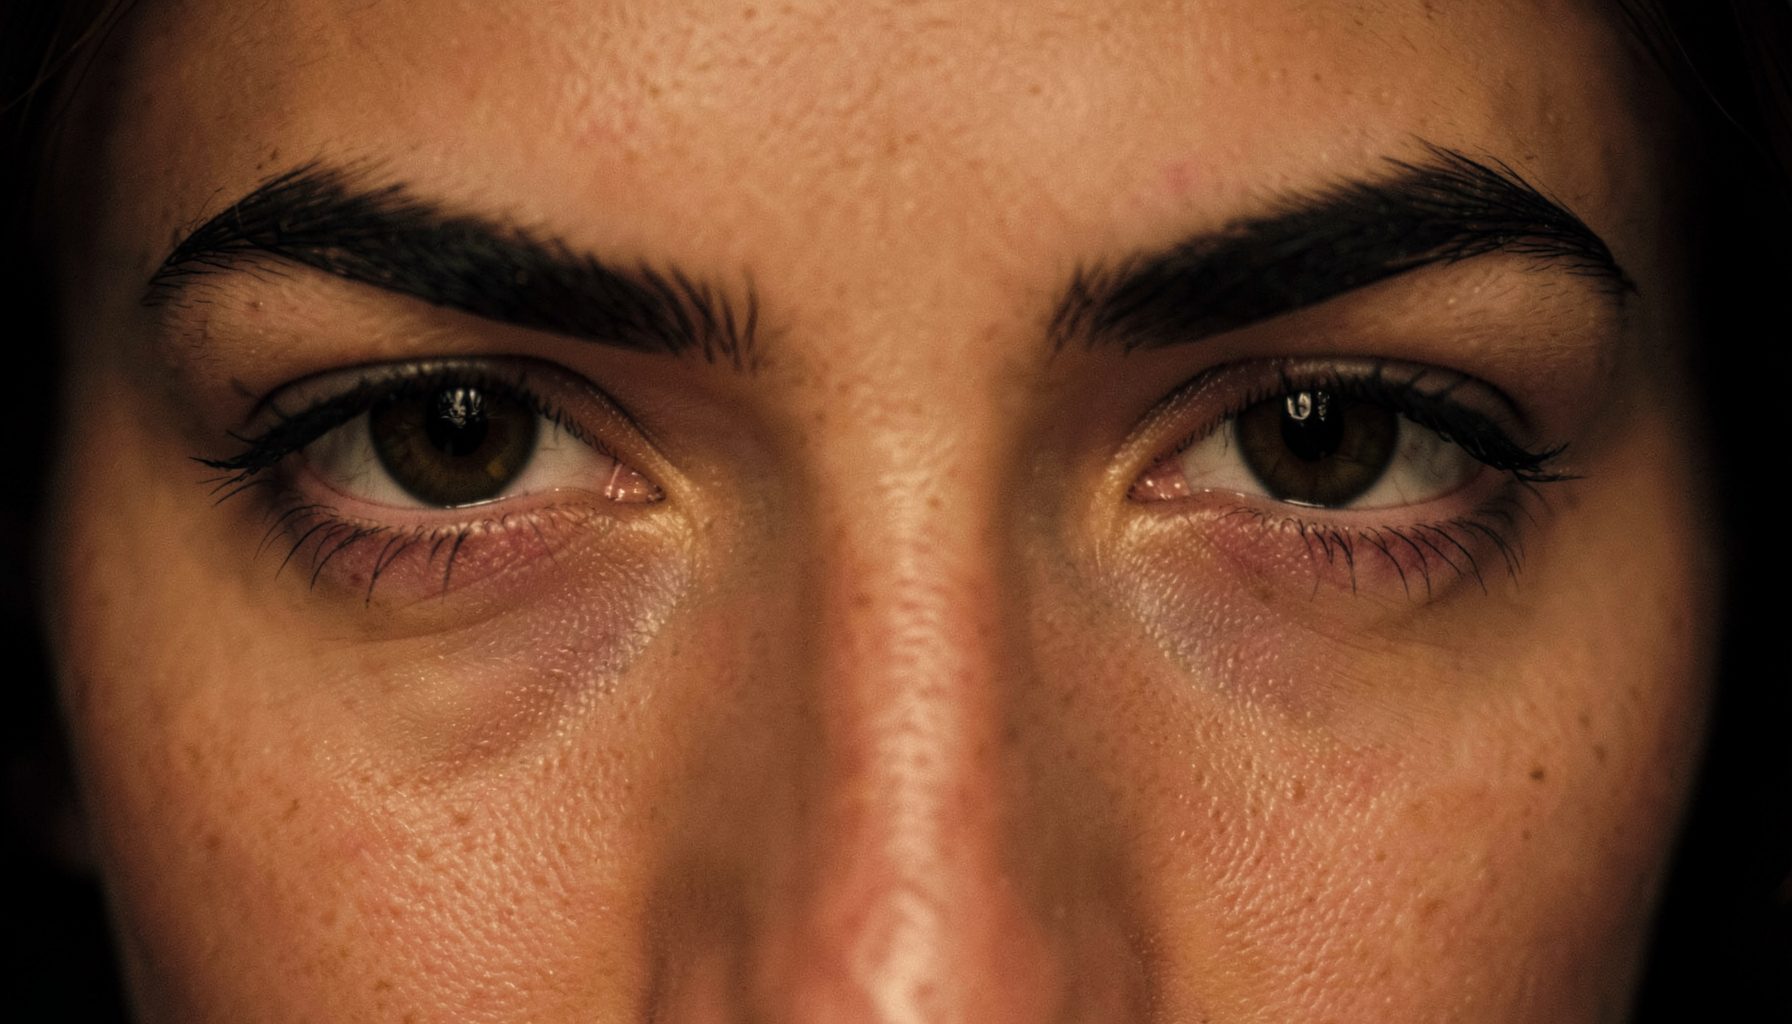
Eye Shape Guide
Understand your eye shape, master makeup techniques, and explore every treatment option — from Botox brow lifts to surgical solutions.
Explore the Site
Eyeshadow placement, blending techniques, and common mistakes to avoid for a more open, lifted look.
Explore →Winged liner, smudge prevention, and techniques that work with hooded lids to make eyes appear larger.
Explore →Non-surgical Botox brow lifts and surgical options including blepharoplasty, explained clearly.
Explore →Five false lash styles suited to hooded eyes, plus curler and mascara guidance for maximum lift.
Explore →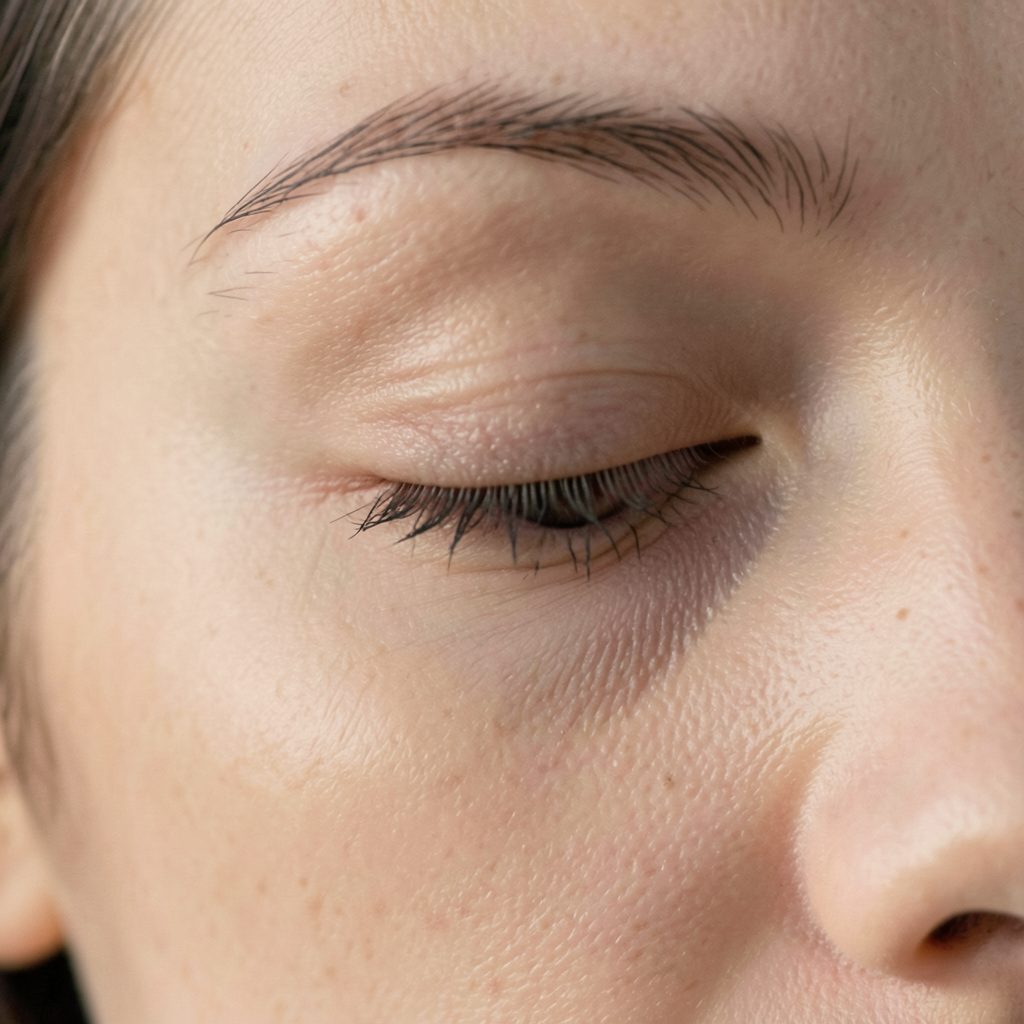
What Are Hooded Eyes?
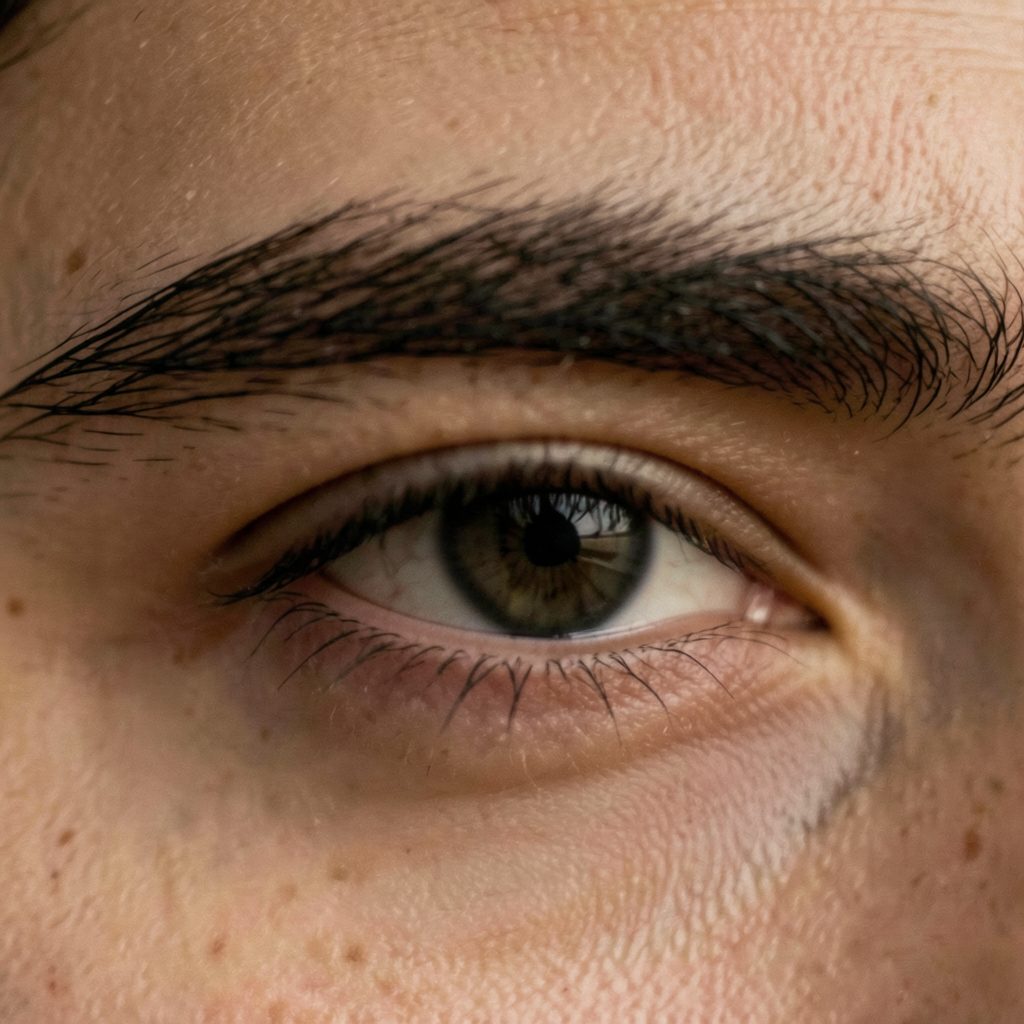
Hooded eyes are a natural eye shape where an excess piece of skin from the brow bone partially or completely covers the eyelid. The result can make eyes appear smaller or more tired than they feel.
This shape can be present from birth due to genetics, or it can develop over time. Known causes include aging, genetic traits, eye rubbing, body fatness, muscle structure, trauma, solar radiation, and sleep apnea.
A faux crease can create the visual impression of more lid space when the natural fold sits low or disappears beneath the brow bone. With a fine liquid liner pen, you can draw a controlled shadow line above the real crease, then soften the surrounding eyeshadow so the shape looks intentional rather than stamped on.
This technique is especially useful for hooded eyes, deep-set eyes and partially hooded lids. The aim is not to imitate a fixed template, but to place definition where it remains visible when your eyes are relaxed and open. A light hand, a flexible pen tip and careful symmetry will usually produce a more flattering result than a thick, dramatic stroke.
Hooded eyes have extra skin or tissue that overlaps the mobile eyelid, often making the natural crease difficult to see. When the eyes are open, liner drawn directly into that fold may vanish. A faux crease sits slightly higher, on the area that remains visible, creating the illusion of depth and a larger-looking lid.
The most believable placement varies from person to person. Some people need the line only a few millimetres above the natural fold, while others need to follow the brow bone’s curve more noticeably. Keep the inner third relatively low and allow the line to rise gently through the centre before tapering at the outer corner.
A faux crease is different from a cut-crease makeup look. Cut crease techniques often use strong contrast and a sharply defined lid, whereas a wearable everyday version relies on a thin outline, matte eyeshadow and blended edges. This makes it easier to adapt for an office in Melbourne, a wedding in Sydney or an evening event in Brisbane.
Start with clean, dry skin and remove excess moisturiser from the eyelids. A small amount of eyeshadow primer can improve grip, especially in Australia’s warmer months when perspiration and humidity cause makeup to move. Wait for the primer to set before applying powder, as a slippery base can make a fine line skip.
Choose a liquid eyeliner pen with a narrow, flexible nib rather than a broad brush tip. Black creates the strongest graphic effect, while dark brown, charcoal, deep plum or espresso tends to look softer. Australian retailers such as Mecca, Sephora Australia and Priceline stock fine-tip liquid liners across different price ranges, so you can compare waterproof, matte and quick-drying formulas.
You will also need a small angled brush, a fluffy blending brush, a matte transition eyeshadow and cotton buds. Keep a little micellar water nearby for corrections. If you plan to define the lower waterline as well, use a product designed for that delicate area and review this waterline liner guide before adding another layer of eye makeup.
Look straight ahead into a mirror with your facial muscles relaxed. Do not lift your brows or stretch the eyelid, because the skin will shift back when you release it. Mark two or three tiny dots where you want the faux crease to travel: near the inner crease, above the centre of the lid and near the outer third.
The line should generally follow the natural contour of the eye socket rather than forming a perfect semicircle. For a rounded eye, a softly curved line can work well. For an almond eye, keep the centre fairly level and angle the outer section slightly upward. If your hood is heavier on one side, map both eyes individually instead of copying the same measurements.
Test the placement with a taupe or brown eyeshadow first. Open your eyes fully and check whether the guideline remains visible. This trial stage prevents the common mistake of drawing the faux crease too low, where it disappears into the fold, or too high, where it sits on the brow bone and looks disconnected.
Rest the side of your hand lightly against your cheek for stability. Hold the pen almost parallel to the lid, then use short connecting strokes rather than attempting one continuous sweep. Begin at the outer third, where a small error is easier to correct, and work towards the centre. Keep the pen tip close to the skin without pressing hard.
For the inner section, use less product and a smaller curve. Many hooded eyes look more natural when the faux crease starts around the centre of the lid instead of running all the way to the tear duct. Let the inner end fade into a matte shadow so there is no harsh vertical stop.
Allow the centre line to dry for several seconds before opening and closing your eyes repeatedly. Once it has set, soften the upper edge with a tiny amount of taupe eyeshadow. Do not drag a large blending brush directly across the wet liner, as this can spread the ink into the hood and remove the clean shape you have built.
At the outer corner, taper the line into a lifted angle or connect it gently with a small wing. Keep this outer extension separate from the lash line if a graphic crease is your priority. Connecting every line can make hooded eyes appear smaller, particularly when the eyeliner is very dark.
Perfect symmetry is rarely necessary, but the overall height and direction should look similar. Work in stages: place both guidelines, draw both centre sections, then complete the outer corners. Finishing one eye completely before starting the other often leads to a much thicker or higher second attempt.
If one eyelid has more visible skin, match the appearance when your eyes are open rather than matching the exact anatomy. The faux crease may need to sit slightly differently on each side. This is normal and is often more flattering than forcing identical arcs.
A practical trick is to take a quick photograph from the front with a neutral expression. Mirrors can encourage constant brow lifting, while a photo shows whether the line is visible in normal posture. This is useful before applying the rest of your makeup for an outdoor event, where bright Australian sunlight can reveal uneven edges that indoor lighting disguises.
Balance the effect with a matte transition shade above and below the line, then place a lighter satin shadow on the mobile lid. Avoid heavy shimmer directly over the faux crease, as sparkle can emphasise texture and make the drawn shape look less like a natural fold.
Long-wearing liquid liner is helpful, but preparation still matters. Oil on the eyelids can dissolve pigment, and a thick layer of concealer may crease underneath the pen. Use a thin veil of primer and set only where needed. If your lids are very oily, press a small amount of translucent powder over the primer before drawing.
In humid places such as Darwin or coastal Queensland, choose a water-resistant formula and allow each layer to dry. In dry, heated interiors during a Melbourne winter, avoid over-powdering, which can make the skin look tight and cause the pen to catch on flaky areas. Carry cotton buds and a small concealer in your makeup bag for discreet repairs.
Mascara should be applied after the faux crease has dried. Curl the lashes first, then use a separating formula so the upper lash line does not become visually crowded. If you prefer extra volume, keep false lashes shorter and lighter at the inner corner. The site’s lash guide can help you compare styles that suit hooded lids without hiding the drawn crease.
For long occasions, such as a summer ceremony or a full day at the races, check the makeup in natural light before leaving. A setting spray may help the surrounding eyeshadow, but it cannot rescue liner applied over a greasy base. The best durability comes from thin layers that have fully dried.
For daytime makeup, use a soft brown pen with beige, taupe or muted rose eyeshadow. Keep the faux crease narrow and blend its upper edge until it resembles a shadow. This version works well with a clean complexion, brushed brows and a tinted lip for an everyday look.
For evening makeup, deepen the outer third with chocolate brown, black-brown or plum liner. You can extend the faux crease slightly beyond the outer corner, but preserve a small gap between it and the lash line if your eyes are small or heavily hooded. That separation creates visual space instead of covering the entire lid in dark pigment.
A floating crease can suit a creative look, particularly when paired with metallic eyeshadow on the lid. To keep it polished, repeat one colour from the crease in the lower lash line and leave the brow bone relatively clear. Strong contrast is best reserved for occasions where graphic makeup is intentional rather than an accidental result of an overly thick pen.
Remove the liner carefully at night. Saturate a cotton pad with a gentle eye makeup remover, hold it over the closed eye for several seconds and wipe in the direction of the lashes. Avoid scrubbing the hooded skin, as friction can cause irritation and make the area feel dry. Stop using a product if it causes stinging, persistent redness or swelling.
A thin liquid liner pen can give hooded eyes a surprisingly sculpted appearance when the placement follows your open-eye shape. Practise first with eyeshadow, use short strokes, and build definition gradually instead of trying to create a bold crease in one pass. Save the finished look as a reference, then refine the height, colour and wing until it feels comfortable for your features.
Try the technique on one eye with a brown pen and a matte taupe shadow, compare it in natural light, and then recreate the shape on the other side. With regular practice, a faux crease becomes a precise yet adaptable part of your eye makeup routine.
Surgical Option
For those seeking a more lasting result, plastic surgery — including blepharoplasty — is covered as a treatment option for hooded eyes. Surgery addresses the excess skin directly and is considered an alternative to non-surgical approaches like Botox.
The site's surgery guide explains the procedure, what to expect, and how it compares to non-surgical routes, helping readers make informed decisions about their options.
Read the Surgery Guide →Famous Faces
Hooded eyes can enhance facial expressions and contribute to a distinctive, memorable look. These ten well-known figures all share the eye shape.
Jennifer Aniston
Leonardo DiCaprio
Solange Knowles
Taylor Swift
Michelle Williams
Robert Pattinson
Blake Lively
Selena Gomez
Gigi Hadid
Benicio del Toro
Side by Side
False Lash Guide
Varied length spikes create texture and the illusion of depth without weighing down the lid.
Longer outer-corner lashes draw the eye outward and upward, counteracting the hood effect.
A uniform, moderate length that adds definition without overwhelming a hooded lid.
Applied only to the outer half, these open up the eye shape and are easier to manage on hooded lids.
A strong upward curl (D or L curl) lifts lashes away from the hood, keeping them visible throughout the day.
The guide also covers lash curlers, mascara recommendations, and step-by-step instructions for fixing false lashes on hooded eyelids.
Full Lash Guide →Get in Touch
Whether you are just beginning your makeup journey or have been experimenting with different looks for years, we are glad you are here.
General Feedback
Share your thoughts on the site or suggest topics you'd like covered.
Looking for a Specific Tip?
Ask about a particular technique or eye-shape challenge.
Product Questions
Questions about products mentioned across the site.
Human Resources or Business Inquiries
Partnership, collaboration, or business-related correspondence.