01
Makeup Tips
Eyeshadow placement, blending techniques, and common mistakes to avoid for a more open, lifted look.
Explore →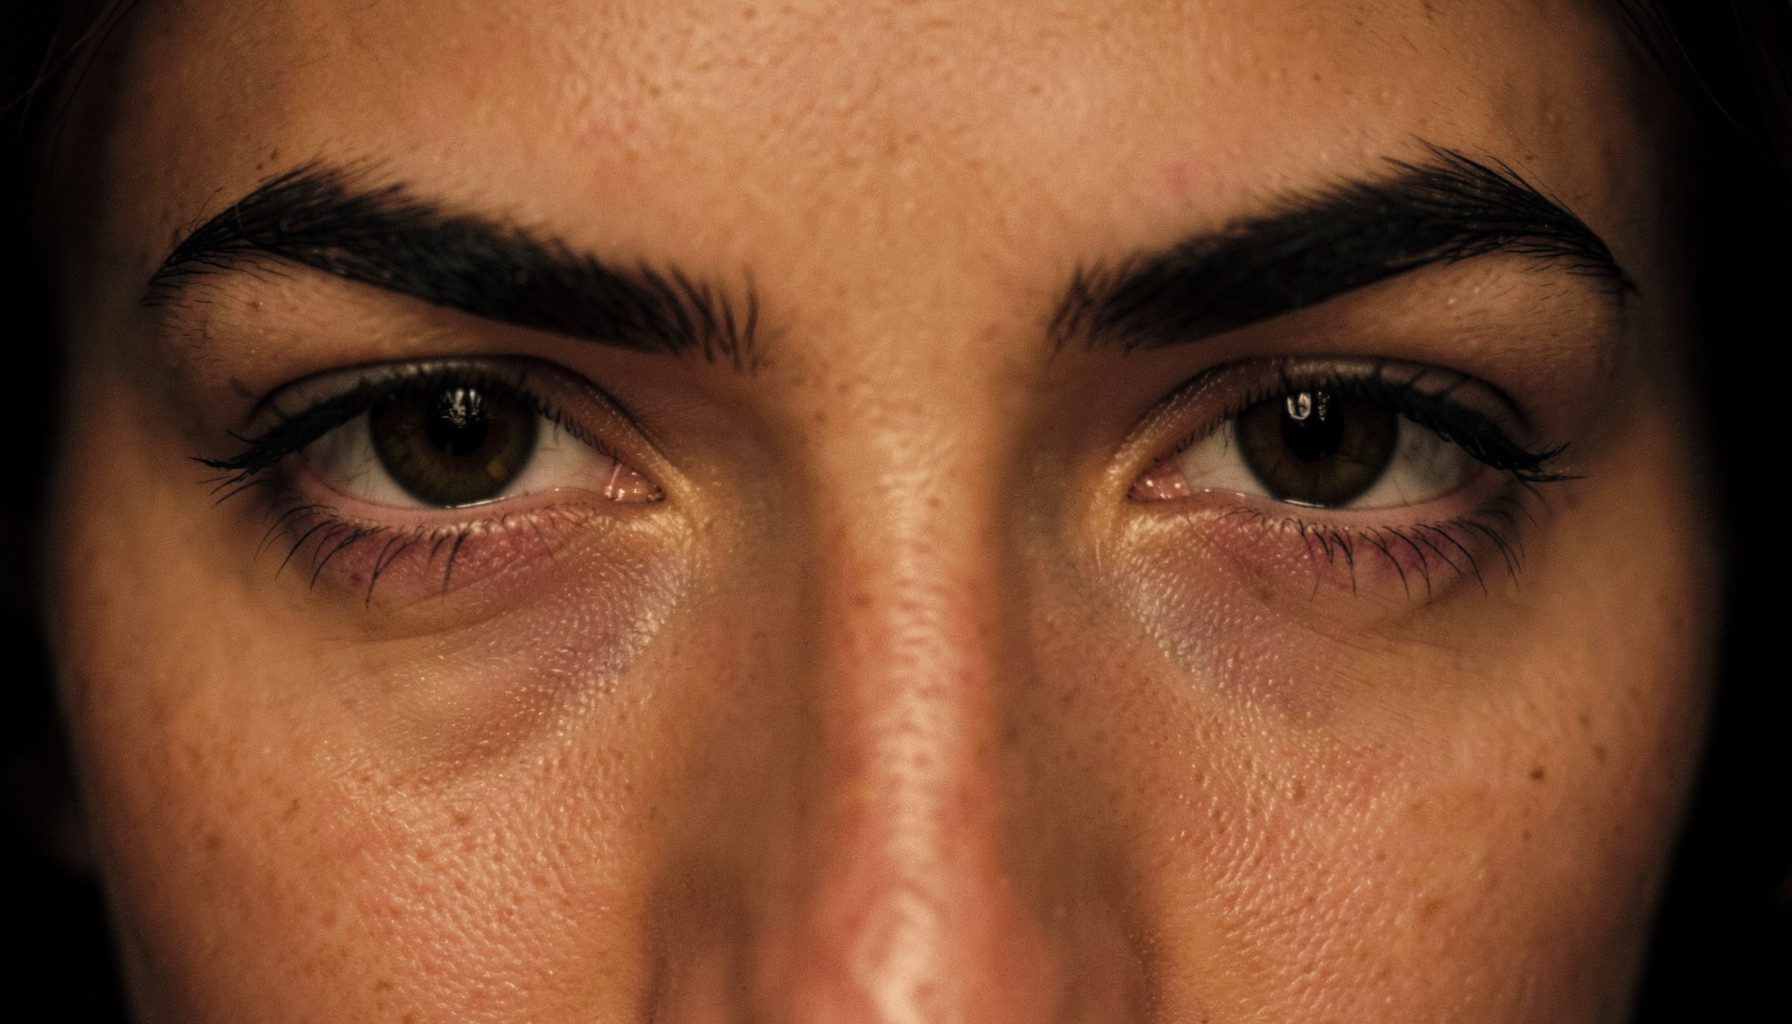
Eye Shape Guide
Understand your eye shape, master makeup techniques, and explore every treatment option — from Botox brow lifts to surgical solutions.
Explore the Site
Eyeshadow placement, blending techniques, and common mistakes to avoid for a more open, lifted look.
Explore →Winged liner, smudge prevention, and techniques that work with hooded lids to make eyes appear larger.
Explore →Non-surgical Botox brow lifts and surgical options including blepharoplasty, explained clearly.
Explore →Five false lash styles suited to hooded eyes, plus curler and mascara guidance for maximum lift.
Explore →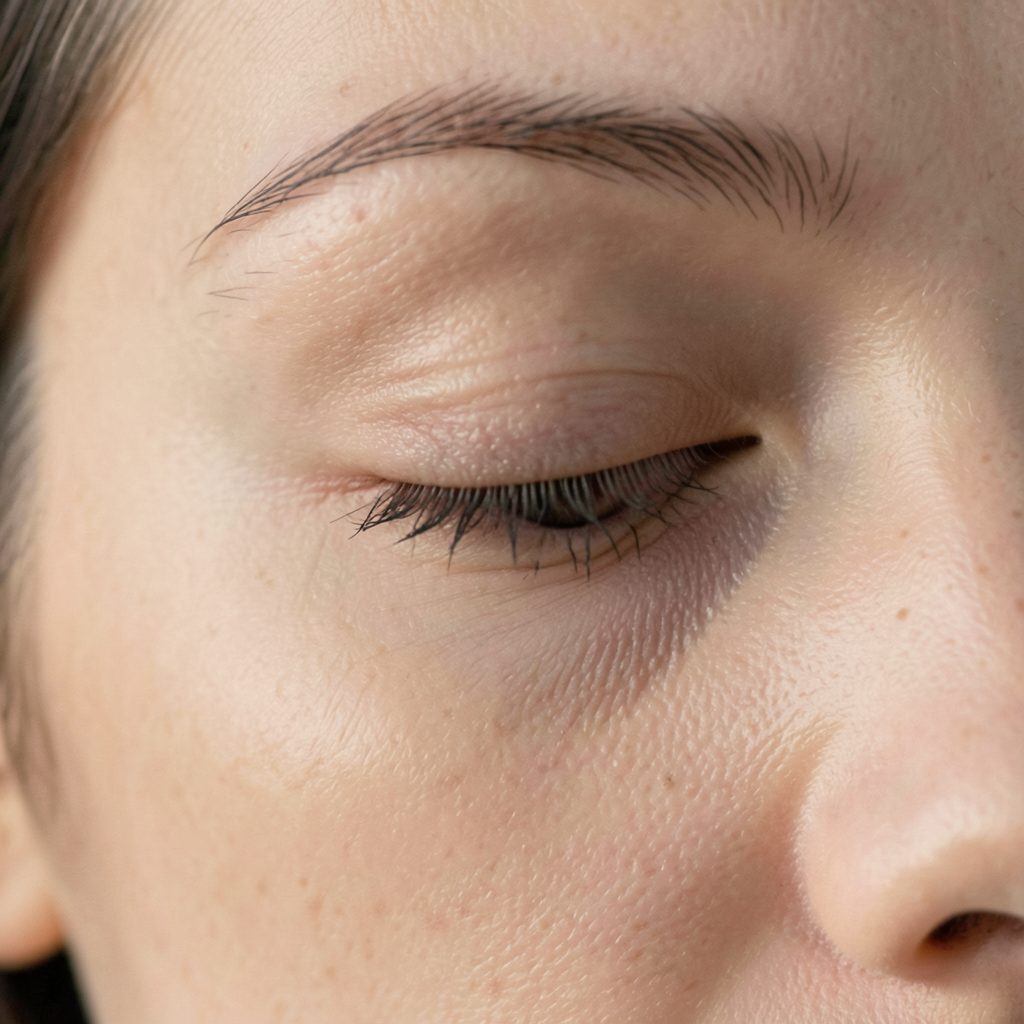
What Are Hooded Eyes?
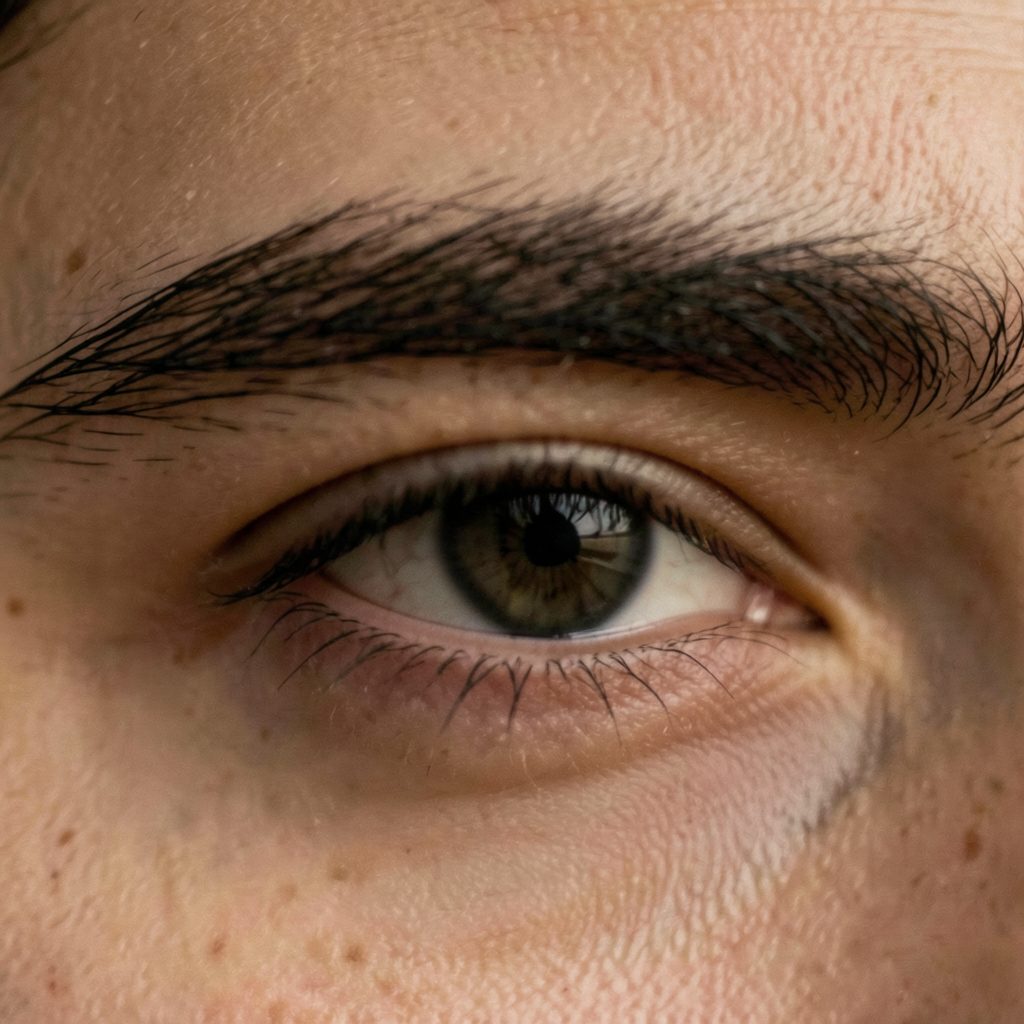
Hooded eyes are a natural eye shape where an excess piece of skin from the brow bone partially or completely covers the eyelid. The result can make eyes appear smaller or more tired than they feel.
This shape can be present from birth due to genetics, or it can develop over time. Known causes include aging, genetic traits, eye rubbing, body fatness, muscle structure, trauma, solar radiation, and sleep apnea.
A cut crease can create the impression of a higher, more defined eyelid by placing a sharp line between the mobile lid and the upper eyeshadow. On a hooded eye, the visible lid space is smaller and partly covered by skin when the eye is open, so a traditional crease placement may disappear. The technique needs to be adjusted for visibility, comfort and natural movement.
The most important rule is to work with your eyes open during key stages. Your anatomical crease may sit lower than the point where you want the makeup to appear, particularly if the brow bone is prominent or the upper lid has a heavier fold. Mapping the shape while looking straight ahead helps the finished design remain visible in everyday expressions.
A successful look does not need to be dramatically cut from the inner corner to the outer edge. A soft half cut crease, a rounded centre placement or a lifted outer shape can be more flattering and easier to wear. You can find further guidance on anatomy, makeup placement and hooded-eye guide techniques before choosing the version that suits your features.
Hooded eyes vary considerably. Some have a small fold that covers only the outer lid, while others have a deeper brow-to-lash overlap across the entire eye. Mature skin, puffiness, a low brow position and natural facial structure can all affect how much lid is visible. Compare both eyes before beginning, because asymmetry is common and each side may need a slightly different map.
Look directly into a mirror with your face relaxed. Do not lift your eyebrows, because that temporarily exposes more lid and can lead you to draw the crease too high. Identify the strip of skin that remains visible above your lashes when your eye is open. This is the practical canvas for the cut crease, rather than the fold you feel with your fingertip.
For a daytime result, place the new crease just above the fold while keeping it within the natural eye socket. A few millimetres can make a significant difference. If the line is too high, the makeup may look disconnected when your eyes are closed; if it is too low, it will vanish under the hood when you look forward.
Begin with clean, moisturised skin, allowing eye cream to absorb fully. Excess slip can make concealer crease and eyeshadow slide into the fold. A thin layer of eye primer is usually enough. If your lids become oily during the day, press a small amount of translucent powder over the primer before adding colour.
Choose a matte transition shade close to your skin tone or one shade deeper. You will also need a deeper matte shadow, a flat detail brush, a small blending brush and a concealer with medium coverage. A slightly tacky concealer gives the most defined edge, while a drier formula provides better control on a deep hood. Avoid applying a thick, wet layer, as it can crack when the eyelid moves.
For shimmer, use a finely milled satin or metallic shadow rather than loose glitter. Fine particles are easier to keep away from the crease and less likely to travel beneath the eyes. Australian beauty retailers such as Mecca, Priceline and Chemist Warehouse carry suitable primers, angled brushes and long-wearing formulas at different price points, making it possible to build the kit without relying on specialist imports.
Sweep the transition shade through the socket using a small brush, keeping the colour slightly above the natural fold. Use short windscreen-wiper motions rather than taking the shadow high towards the brow. The outer corner can be blended upwards towards the end of the eyebrow, creating lift without extending the cut crease too far.
Now use a mid-tone matte shade to sketch the intended line. Keep your gaze forward and mark the highest point above the pupil or slightly towards the outer third. A rounded curve generally gives a soft, open effect, while a gently angled line creates a more elongated appearance. Leave the inner corner lower if your eyes are close-set, or carry the colour further in if you want more definition.
Close your eye briefly to check the placement, then open it again. The line should remain visible when your face is relaxed. Do not worry if the outline looks uneven at this stage. Concealer will sharpen the lower edge, and a hooded eye often looks more balanced when each side is mapped according to its own fold rather than forced into identical symmetry.
A half cut crease is often the most practical option. Start near the inner corner or centre of the lid and stop before the outer corner, allowing the deeper shadow to blend into the hood. A full cut crease can work for photography or evening makeup, but it requires careful control so the outer section does not become heavy.
Place a small amount of concealer on the mobile lid and look straight ahead. Where the concealer transfers onto the hood marks the highest point that should be avoided. Keep the eye open while placing a thin crescent of product just below that area, then close the eye to connect the shape smoothly.
Use the flat brush to press concealer from the inner corner towards the centre, following the guide you drew. The edge should be crisp, but the product below it should remain thin. On a hooded eyelid, too much concealer can create a sticky fold that transfers immediately. It is better to add small amounts than to cover the full lid in one thick layer.
Keep the carved section slightly rounded over the pupil if you want the eyes to appear more open. For a lifted effect, narrow the shape as it reaches the outer corner. A cut crease does not need to reach the brow bone; leaving a visible strip of transition shadow between the crease and the eyebrow keeps the result wearable.
Before the concealer dries, press your light lid shade over it. If you prefer maximum intensity, use a pale matte base first and add shimmer only to the centre or inner two-thirds. The strip lash tutorial is useful when the finished eye look includes false lashes that may otherwise obscure the carefully placed lid colour.
Once the light shade is applied, use a clean small brush to soften any harsh edge between the carved lid and the transition colour. Blend upwards and outwards, never down into the light section. The goal is a defined border with a diffused upper edge, rather than a thick stripe of concealer.
Add the deeper matte shadow to the outer corner and along the upper edge of the cut crease. Keep the darkest colour above the lash line and outer V, where it can create depth without taking over the limited visible lid. If you bring dark shadow too far into the centre, it can make the eyes appear smaller.
Australian conditions can change how the look behaves. A humid Queensland day, a warm Sydney commute or a long afternoon outside can encourage creasing, so waterproof or long-wearing formulas are helpful. In Melbourne, where the weather can shift from cool to warm during the same day, keep a cotton bud and compact powder available for small touch-ups rather than adding more concealer.
If you are using shimmer, press it in with a fingertip or flat brush. Avoid sweeping it beyond the carved edge. A small amount of sparkle on the centre lid catches light when the eye opens, while too much glitter under the hood can emphasise texture and transfer onto the brow bone.
Eyeliner should support the cut crease instead of covering it. A fine dark line close to the upper lashes gives definition without reducing the visible lid. A thick graphic line can consume much of the mobile lid, especially when the eyes are open. If you want a wing, keep it short and angle it towards the end of the brow rather than drawing a long, heavy flick.
Tightlining can add intensity while preserving lid space, although people with sensitive or watery eyes may prefer a soft pencil just above the lashes. Curl the lashes before mascara, then apply a lifting formula mainly at the roots. Too many wet coats can weigh down the curl and make the hood look heavier.
False lashes should have a flexible band and a curl that does not press into the fold. Trim from the outer end, apply a thin layer of adhesive and place the band as close to the natural lash line as possible. Half lashes or individual clusters can add lift at the outer corner without hiding the cut crease. Allow adhesive to become tacky before placement so the strip does not slide into the hood.
Use these checks before leaving the house:
A cut crease should follow the movement of your eyes rather than compete with it. Practise the mapping step first, then refine the height, width and colour intensity over several attempts. Once the placement is reliable, you can adapt the same method for a soft daytime look, a wedding eye or a more dramatic evening style while keeping the design visible on a hooded lid.
Use an eye-open mirror check as your final measure, set the finished look with products suited to your skin type and keep the first attempt deliberately light. With a thin carved edge, controlled blending and lashes that lift rather than cover the lid, the technique can define hooded eyes without making them look crowded.
Surgical Option
For those seeking a more lasting result, plastic surgery — including blepharoplasty — is covered as a treatment option for hooded eyes. Surgery addresses the excess skin directly and is considered an alternative to non-surgical approaches like Botox.
The site's surgery guide explains the procedure, what to expect, and how it compares to non-surgical routes, helping readers make informed decisions about their options.
Read the Surgery Guide →Famous Faces
Hooded eyes can enhance facial expressions and contribute to a distinctive, memorable look. These ten well-known figures all share the eye shape.
Jennifer Aniston
Leonardo DiCaprio
Solange Knowles
Taylor Swift
Michelle Williams
Robert Pattinson
Blake Lively
Selena Gomez
Gigi Hadid
Benicio del Toro
Side by Side
False Lash Guide
Varied length spikes create texture and the illusion of depth without weighing down the lid.
Longer outer-corner lashes draw the eye outward and upward, counteracting the hood effect.
A uniform, moderate length that adds definition without overwhelming a hooded lid.
Applied only to the outer half, these open up the eye shape and are easier to manage on hooded lids.
A strong upward curl (D or L curl) lifts lashes away from the hood, keeping them visible throughout the day.
The guide also covers lash curlers, mascara recommendations, and step-by-step instructions for fixing false lashes on hooded eyelids.
Full Lash Guide →Get in Touch
Whether you are just beginning your makeup journey or have been experimenting with different looks for years, we are glad you are here.
General Feedback
Share your thoughts on the site or suggest topics you'd like covered.
Looking for a Specific Tip?
Ask about a particular technique or eye-shape challenge.
Product Questions
Questions about products mentioned across the site.
Human Resources or Business Inquiries
Partnership, collaboration, or business-related correspondence.