01
Makeup Tips
Eyeshadow placement, blending techniques, and common mistakes to avoid for a more open, lifted look.
Explore →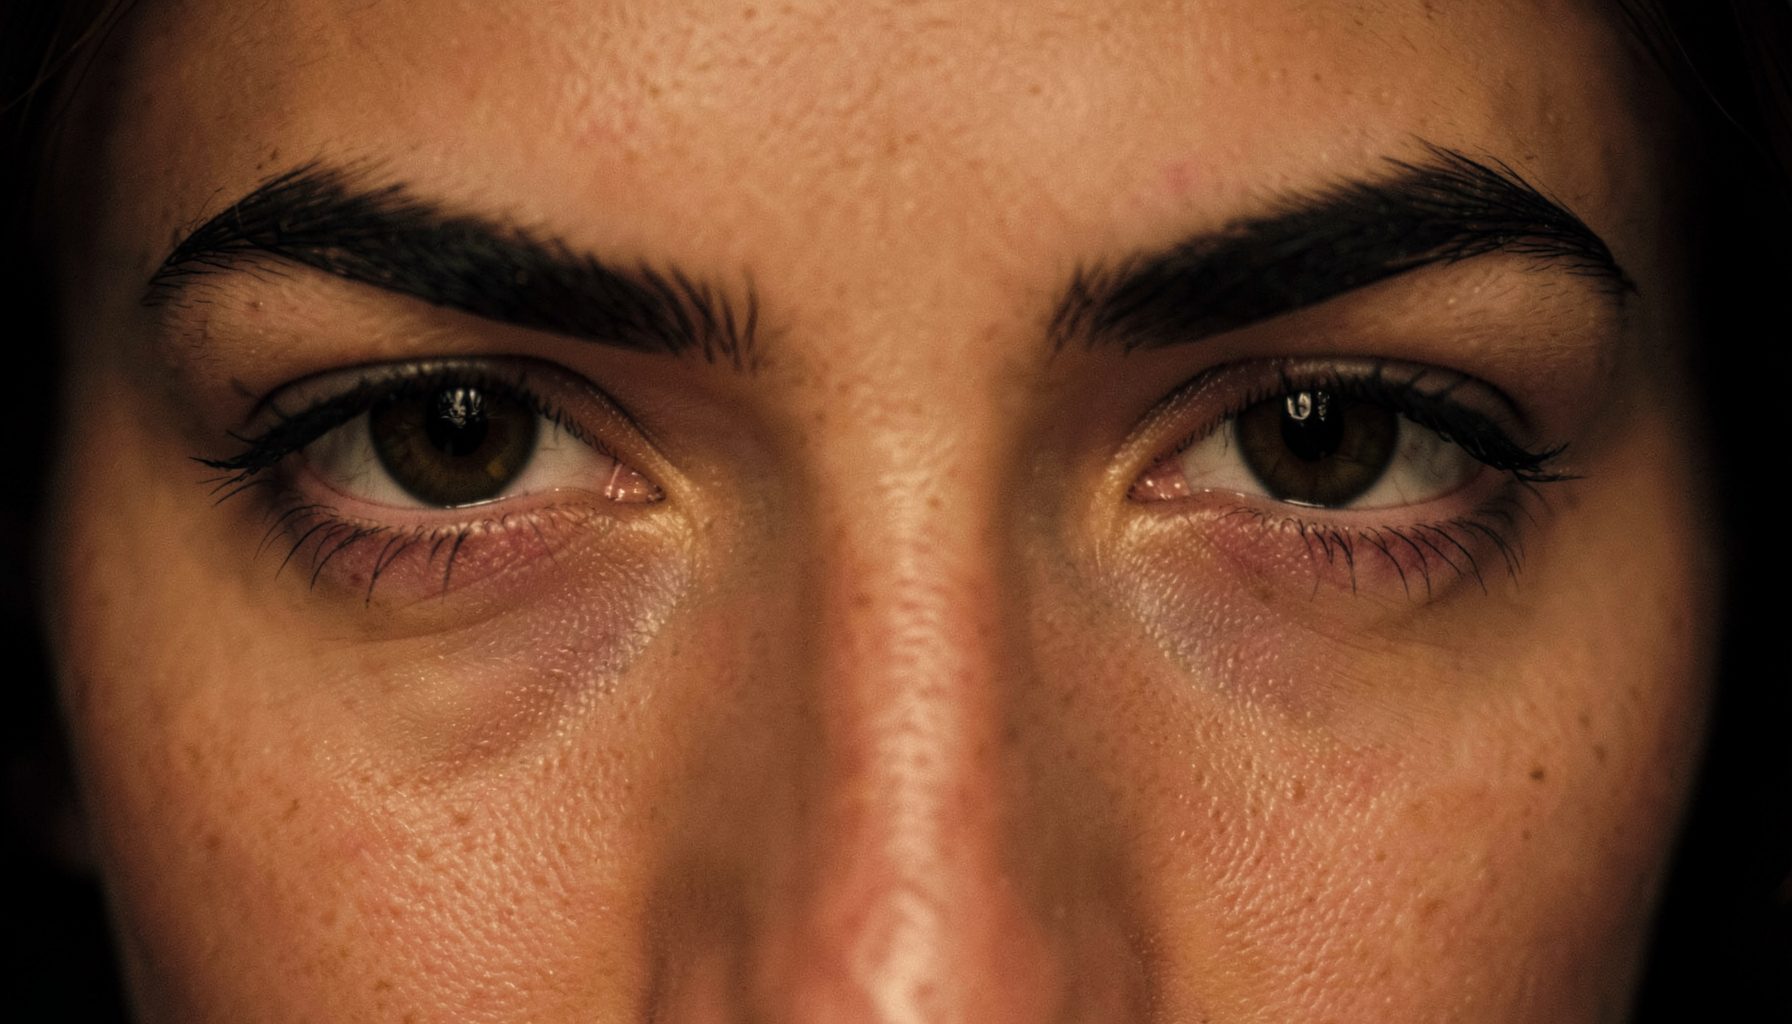
Eye Shape Guide
Understand your eye shape, master makeup techniques, and explore every treatment option — from Botox brow lifts to surgical solutions.
Explore the Site
Eyeshadow placement, blending techniques, and common mistakes to avoid for a more open, lifted look.
Explore →Winged liner, smudge prevention, and techniques that work with hooded lids to make eyes appear larger.
Explore →Non-surgical Botox brow lifts and surgical options including blepharoplasty, explained clearly.
Explore →Five false lash styles suited to hooded eyes, plus curler and mascara guidance for maximum lift.
Explore →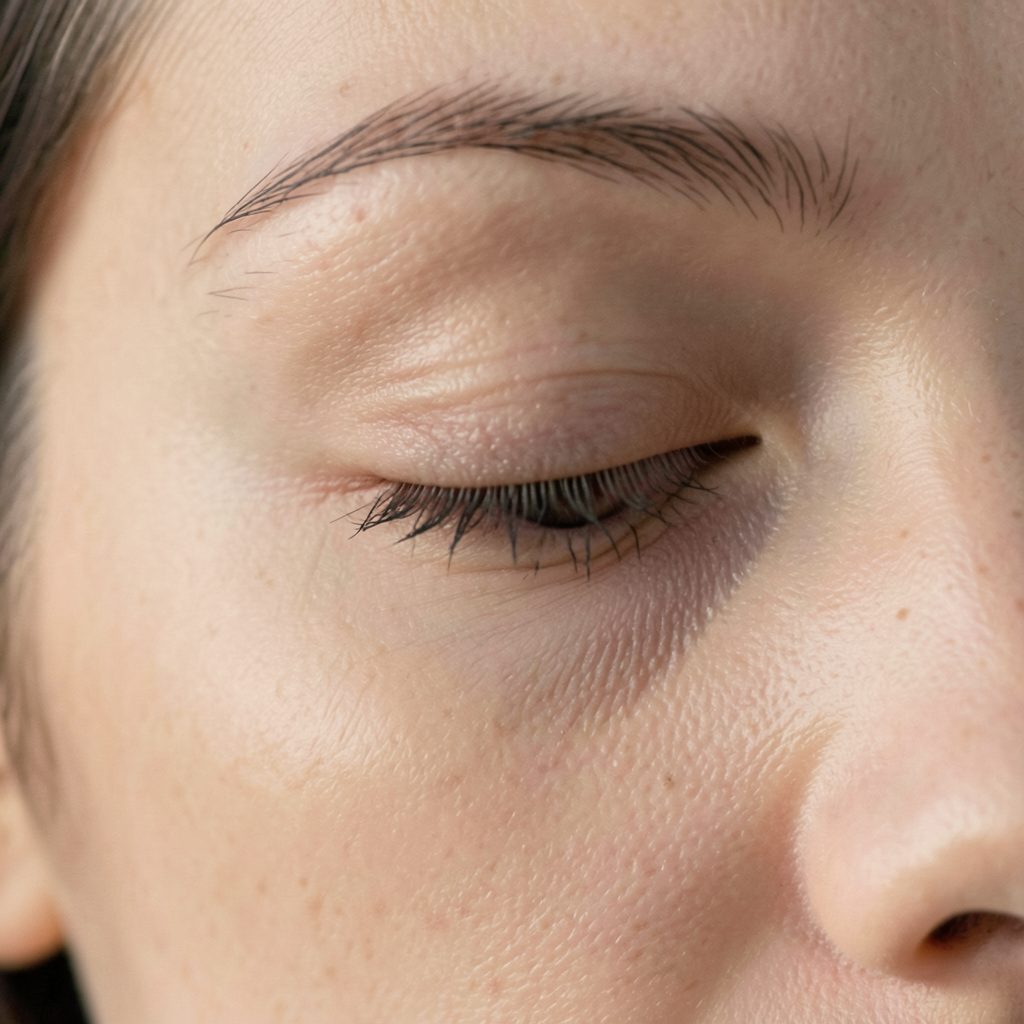
What Are Hooded Eyes?
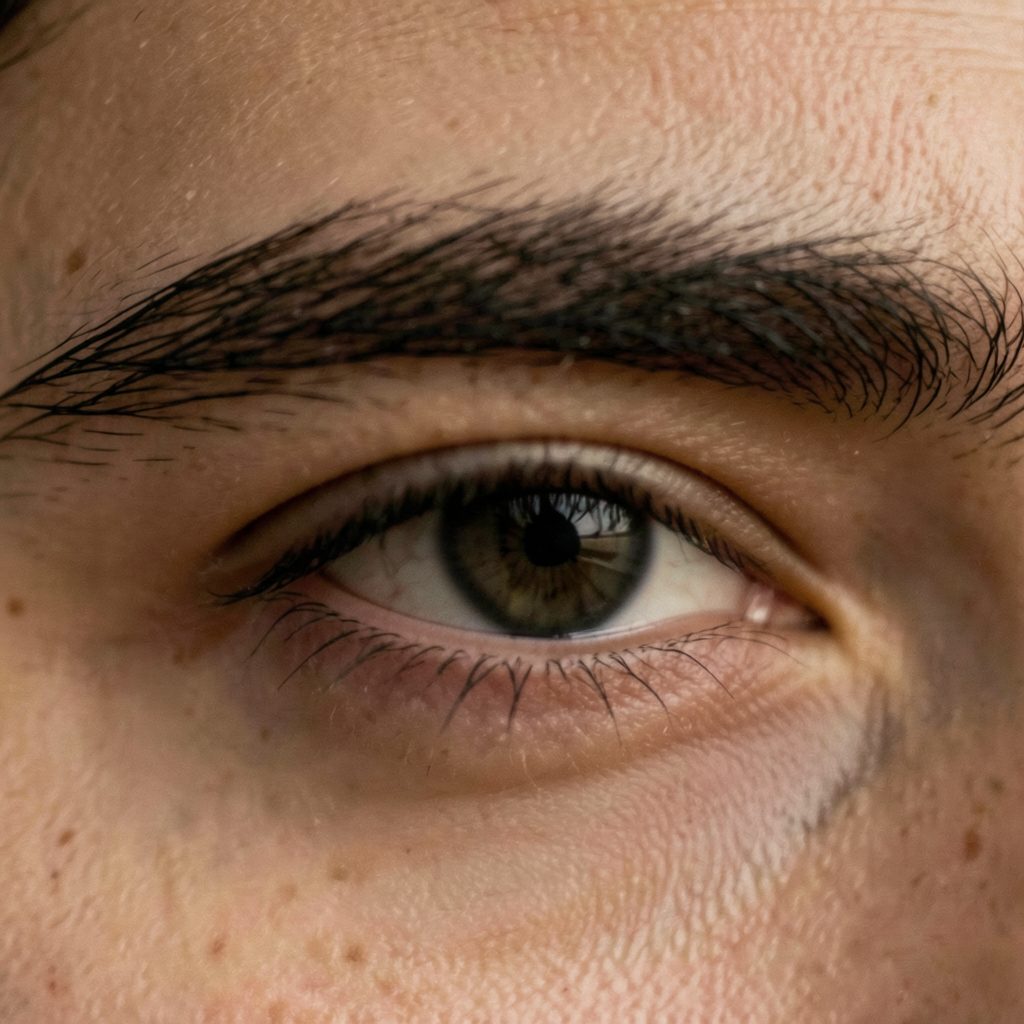
Hooded eyes are a natural eye shape where an excess piece of skin from the brow bone partially or completely covers the eyelid. The result can make eyes appear smaller or more tired than they feel.
This shape can be present from birth due to genetics, or it can develop over time. Known causes include aging, genetic traits, eye rubbing, body fatness, muscle structure, trauma, solar radiation, and sleep apnea.
Hooded eyes are common across many faces, and the techniques used to enhance them differ from standard eye makeup advice found in overseas tutorials. In Australia, where humidity and UV exposure vary so much from Hobart to Brisbane, longevity matters as much as artistry. Readers from Sydney to Melbourne often notice the crease they were born with sits lower than where makeup artists apply shadow in videos, leaving them unsure whether the rules apply. The rules do, they just shift.
The solution is contouring the eyelid with a soft matte shade placed slightly above the natural fold, mimicking a higher bone structure and visually deepening the socket. This technique needs no surgery, no expensive tools, and no specialist counter visit. With a steady hand, two or three brushes, and a willingness to blend until everything looks soft, anyone can build the appearance of a more defined crease in under five minutes.
A few things worth knowing before you start: hooded lids absorb shadow quickly because there is less visible lid space to work with. That is why the placement strategy differs from someone with a deep-set or round eye. Where the contour sits, how high it is brought, and how softly it is diffused all matter more than the product itself. Whether the look is a subtle daytime lift or a sculpted evening statement, the same logic applies.
What follows is a complete walkthrough of the technique, including brush selection, shade choice, mapping the faux crease, and the climate-aware tweaks that help the look survive a long arvo at Bondi or a wedding in the Adelaide Hills.
Hooded eyelids form when a fold of skin drapes over the natural crease, hiding part of the lid and sometimes pushing the lashes downward. The fold can be inherited, develop with age, or both, and the bone underneath often sits slightly further back than in other eye shapes. Because the visible lid space is compressed, the eye can read as smaller or less defined in photos, particularly when the brow is left untamed or when shimmer is piled into the centre of the lid.
This is where contouring earns its place. Drawing a soft shadow above the natural fold tricks the eye into believing the crease sits higher. The brain reads depth from contrast, so even a whisper of cool-toned taupe placed where light does not usually fall creates the illusion of a hollow. It works the same way bronzer sculpts cheekbones, just on a smaller, more delicate canvas.
A common mistake among Australians new to the technique is to place the dark shade too low, following the natural fold as if tracing a line on a map. The result is a smudgy stripe that vanishes the moment the eye opens. The fix is to look straight into a well-lit mirror, find where the brow bone casts its shadow, and work in that exact zone. For anyone considering a longer-term change, plastic surgery options are also worth researching alongside makeup.
Matte formulas are non-negotiable for crease contouring, because shimmer reflects and flattens depth rather than creating it. A cool-toned taupe or soft ash brown works for most fair-to-medium Australian complexions, while deeper olive and tan skin tones usually need a richer cool brown or a grey-tinged mocha. Warm cinnamon shades tend to read as redness on a hooded lid, particularly in the bright outdoor light at Manly or Cottesloe.
Brush choice influences the final result more than many realise. A fluffy tapered blending brush with soft, loosely packed bristles is essential for diffusing the edge so it never reads as a stripe. A smaller precision brush, often called a crease or smudge brush, helps with placement along the brow bone. Most palettes sold at Mecca or Priceline include a serviceable crease brush, so there is no need to splurge on a single tool when starting out.
For longevity, an eyeshadow primer or a thin layer of concealer set with translucent powder helps the contour stay put through a long commute on the M2 or an outdoor event at the MCG. Cream-to-powder contour sticks also work for those who prefer a more pigmented payoff, but they require a lighter hand and faster blending before they set.
Preparation is half the work. Before any shadow touches the lid, the skin should be clean, hydrated, and primed. A light eye cream patted in and allowed to sink for a minute keeps the delicate skin supple without making the surface slippery. In the Australian climate, a silicone-based primer works better than a creamy one during humid stretches, because it grips pigment and resists sweat.
Setting the primer is optional but useful for those with oily lids or long days out. A whisper of translucent powder pressed into the lid, then buffed away, leaves a tack-free base that helps powder shadow blend without grabbing. Concealer can also serve this function, particularly when the goal is to neutralise veins or discolouration visible through fair skin.
A common piece of advice worth ignoring is skipping primer in favour of "natural" finishes. Without a base, even the best eyeshadow migrates into the fold within a couple of hours, especially in summer heat. For anyone heading to a wedding in Noosa or a long lunch in Newtown, primer is the difference between a defined crease at 3pm and a smoky memory by then.
Mapping is the step that turns a vague idea into a defined shape. Look straight ahead into a mirror with the chin slightly lifted, which exposes the area just beneath the brow bone. Using the precision brush, press a thin line of the cool matte shade into the hollow where light does not reach. The line should start a few millimetres above the inner corner, arc gently upward toward the outer third, and softly fade before reaching the tail of the brow.
Keep the placement floating rather than pressed against the lashes. If the contour touches the lash roots, it drags the eye downward and emphasises the hood rather than lifting it. The arc should feel as if you are following the lower edge of an invisible brow bone, which is what the brain expects to see on a non-hooded lid.
For daytime, keep the arc close to the natural fold and blend until there is no visible line, only a gradual shift from light to shadow. For evening, extend the outer third upward and outward for a subtle winged effect that lifts the outer corner. A second pass with a clean brush deepens the contour without changing its shape.
Blending is where the technique either sings or fails. The goal is for the eye to read as naturally deep, not made-up, so any harsh line is the enemy. After the initial placement, pick up the fluffy blending brush with no product on it and use small circular motions along the upper edge of the contour to soften it. The lower edge, closer to the lash line, should remain crisper to preserve the depth.
Buff in layers rather than blending everything in one pass. Each circle lifts a little more pigment and diffuses the edge, which is far safer than attacking it with one heavy hand. If the contour looks muddy, a clean brush and a touch of skin-tone shadow can rescue the look by brushing over the top to soften the contrast.
Australian humidity is notorious for melting makeup. The fix is a setting spray after blending, which locks everything in place without adding shine. A light mist held at arm's length, followed by ten seconds of patience, leaves the contour soft but stable through a long tram ride home or a sweaty workout at F45.
Eyeliner is the next layer to consider, and hooded eyes benefit from thin, smudged lines rather than thick wings. A tightline along the upper lash roots adds definition without taking up lid space, while a small flick at the outer corner that lifts upward keeps the shape from disappearing into the fold. Pencil or cream formulas in soft brown or charcoal wear better than stark black on fair Australian skin, particularly in photos that lean warm. Black can be reserved for evening or for those with deeper skin tones where it reads as graphic rather than harsh.
Lashes matter as much as liner. Curling them before application opens the eye and stops them from brushing against the brow, which can otherwise smudge shadow into the fold. A lengthening mascara with a slim wand reaches the corner lashes without clumping the centre ones. For those who prefer falsies, half-strips or individual lashes applied to the outer third give lift without weighing the lid down.
Highlight belongs on the brow bone, not the lid itself. A matte or satin finish in a shade one or two tones lighter than the skin catches light at the highest point of the brow and contrasts beautifully with the contoured hollow below. Shimmer on the mobile lid tends to flatten the eye on hooded shapes, because the sparkles disappear into the fold the moment the eye opens. A whisper of inner-corner highlight can also help, particularly in low light at a bar in Collingwood or a candlelit dinner in Fremantle.
Australian conditions can be unkind to eye makeup, especially in summer. UV exposure breaks down pigments faster than people realise, so an SPF-rated primer or a hat with a brim helps preserve the contour through a long outdoor lunch. Humidity, salt air at the beach, and air-conditioning indoors all play havoc with shadow, which is why primers and setting sprays earn their keep.
For those exploring longer-term options beyond contour, there are also non-surgical eye treatments such as fillers, threads, and skin tightening that can subtly lift the brow area. These work differently from makeup and offer a slower, more gradual change. They pair well with contouring on days when more lift is wanted without committing to a full recovery.
A final habit worth forming is wiping the brushes weekly. Build-up on bristles is the fastest way to muddy a carefully blended contour, particularly when the same brush is used across multiple shades. A quick wash with a mild brush cleanser or baby shampoo, followed by air-drying flat, extends brush life and keeps application clean.
Practice is what turns the technique from a hit-and-miss experiment into a five-minute habit. Within a few weeks, the hand learns where the brow bone shadow naturally falls and how much pressure is needed to build depth without smudging. The look pairs with almost any makeup style, from a sheer wash of peach to a full smoky eye, and adapts easily between the office and a night out.
Readers can browse the blog library for related guides and comparisons, including posts on celebrity hooded eyes, eyeshadow finishes, and mascara choices. Save the site and check back each month for fresh tips on contouring, blending, and lid-friendly techniques. The look is worth the practice.
Surgical Option
For those seeking a more lasting result, plastic surgery — including blepharoplasty — is covered as a treatment option for hooded eyes. Surgery addresses the excess skin directly and is considered an alternative to non-surgical approaches like Botox.
The site's surgery guide explains the procedure, what to expect, and how it compares to non-surgical routes, helping readers make informed decisions about their options.
Read the Surgery Guide →Famous Faces
Hooded eyes can enhance facial expressions and contribute to a distinctive, memorable look. These ten well-known figures all share the eye shape.
Jennifer Aniston
Leonardo DiCaprio
Solange Knowles
Taylor Swift
Michelle Williams
Robert Pattinson
Blake Lively
Selena Gomez
Gigi Hadid
Benicio del Toro
Side by Side
False Lash Guide
Varied length spikes create texture and the illusion of depth without weighing down the lid.
Longer outer-corner lashes draw the eye outward and upward, counteracting the hood effect.
A uniform, moderate length that adds definition without overwhelming a hooded lid.
Applied only to the outer half, these open up the eye shape and are easier to manage on hooded lids.
A strong upward curl (D or L curl) lifts lashes away from the hood, keeping them visible throughout the day.
The guide also covers lash curlers, mascara recommendations, and step-by-step instructions for fixing false lashes on hooded eyelids.
Full Lash Guide →Get in Touch
Whether you are just beginning your makeup journey or have been experimenting with different looks for years, we are glad you are here.
General Feedback
Share your thoughts on the site or suggest topics you'd like covered.
Looking for a Specific Tip?
Ask about a particular technique or eye-shape challenge.
Product Questions
Questions about products mentioned across the site.
Human Resources or Business Inquiries
Partnership, collaboration, or business-related correspondence.