01
Makeup Tips
Eyeshadow placement, blending techniques, and common mistakes to avoid for a more open, lifted look.
Explore →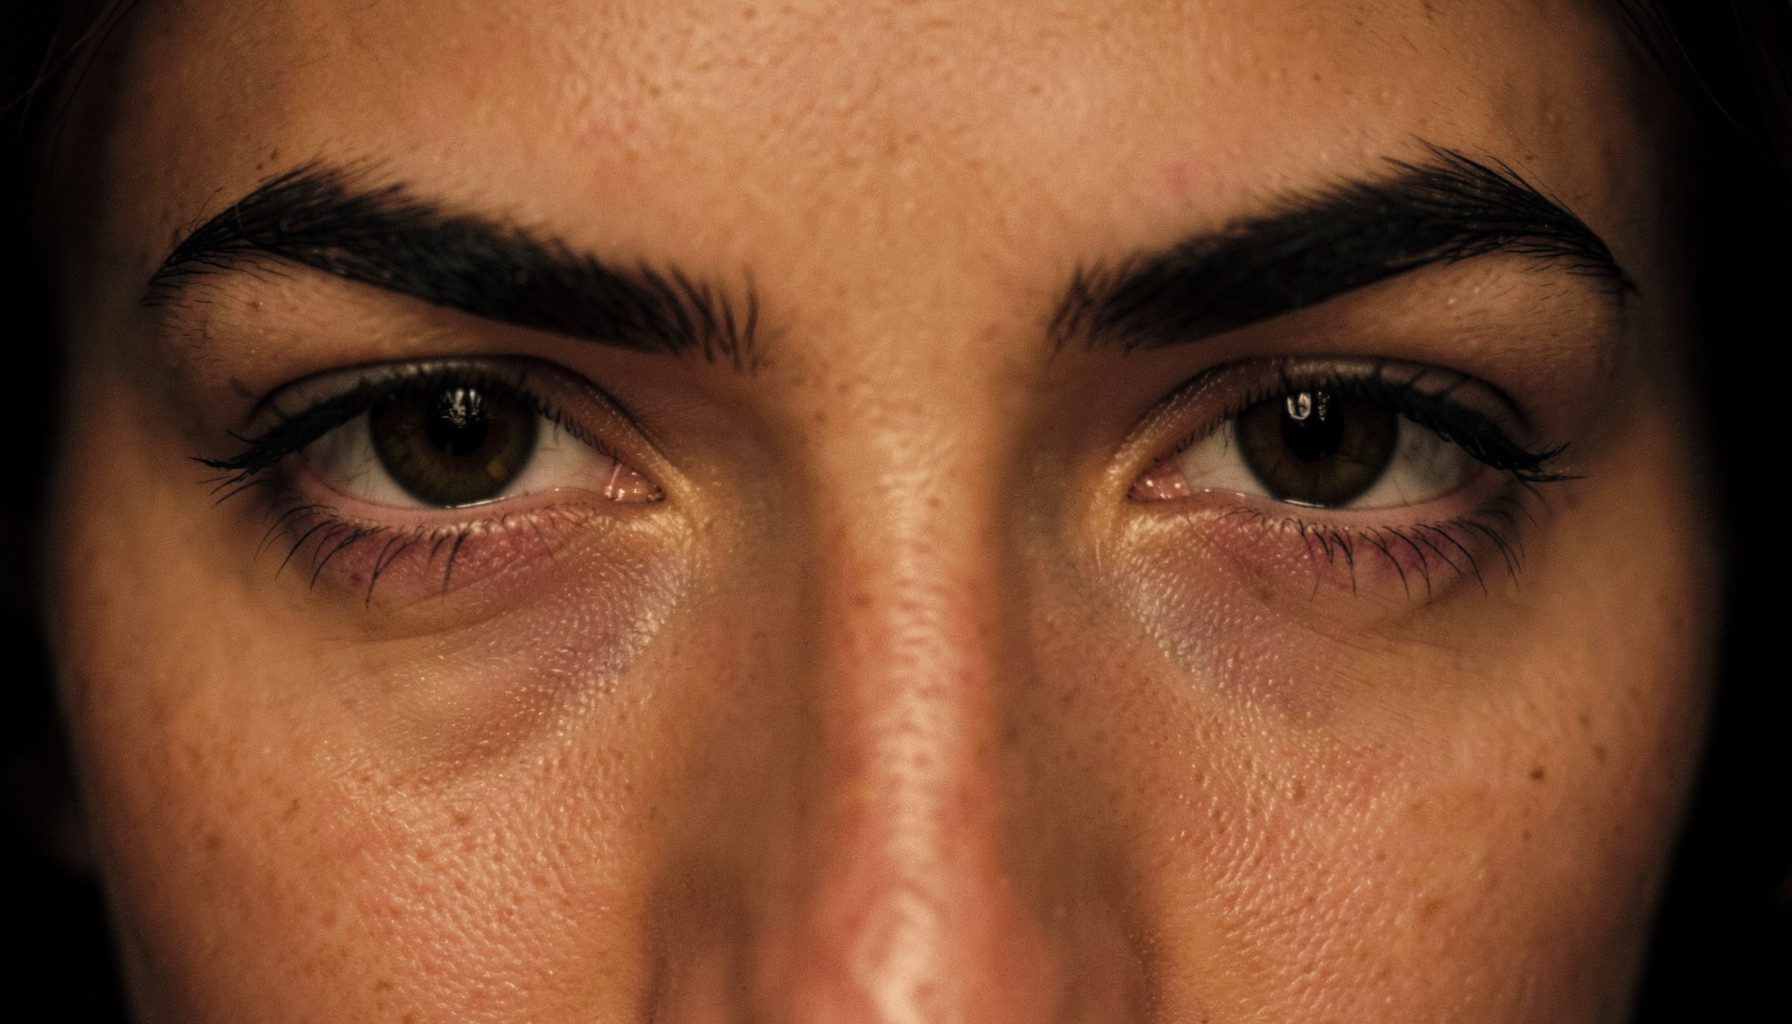
Eye Shape Guide
Understand your eye shape, master makeup techniques, and explore every treatment option — from Botox brow lifts to surgical solutions.
Explore the Site
Eyeshadow placement, blending techniques, and common mistakes to avoid for a more open, lifted look.
Explore →Winged liner, smudge prevention, and techniques that work with hooded lids to make eyes appear larger.
Explore →Non-surgical Botox brow lifts and surgical options including blepharoplasty, explained clearly.
Explore →Five false lash styles suited to hooded eyes, plus curler and mascara guidance for maximum lift.
Explore →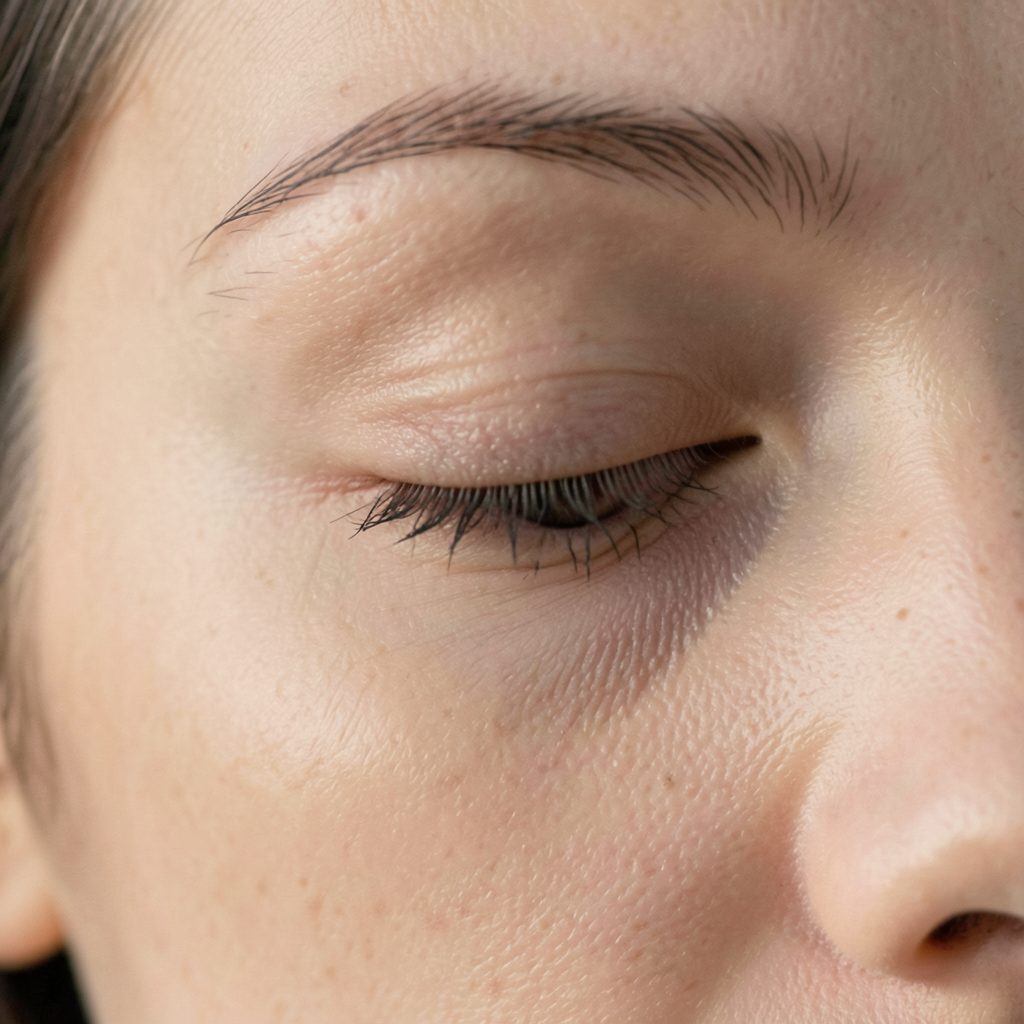
What Are Hooded Eyes?
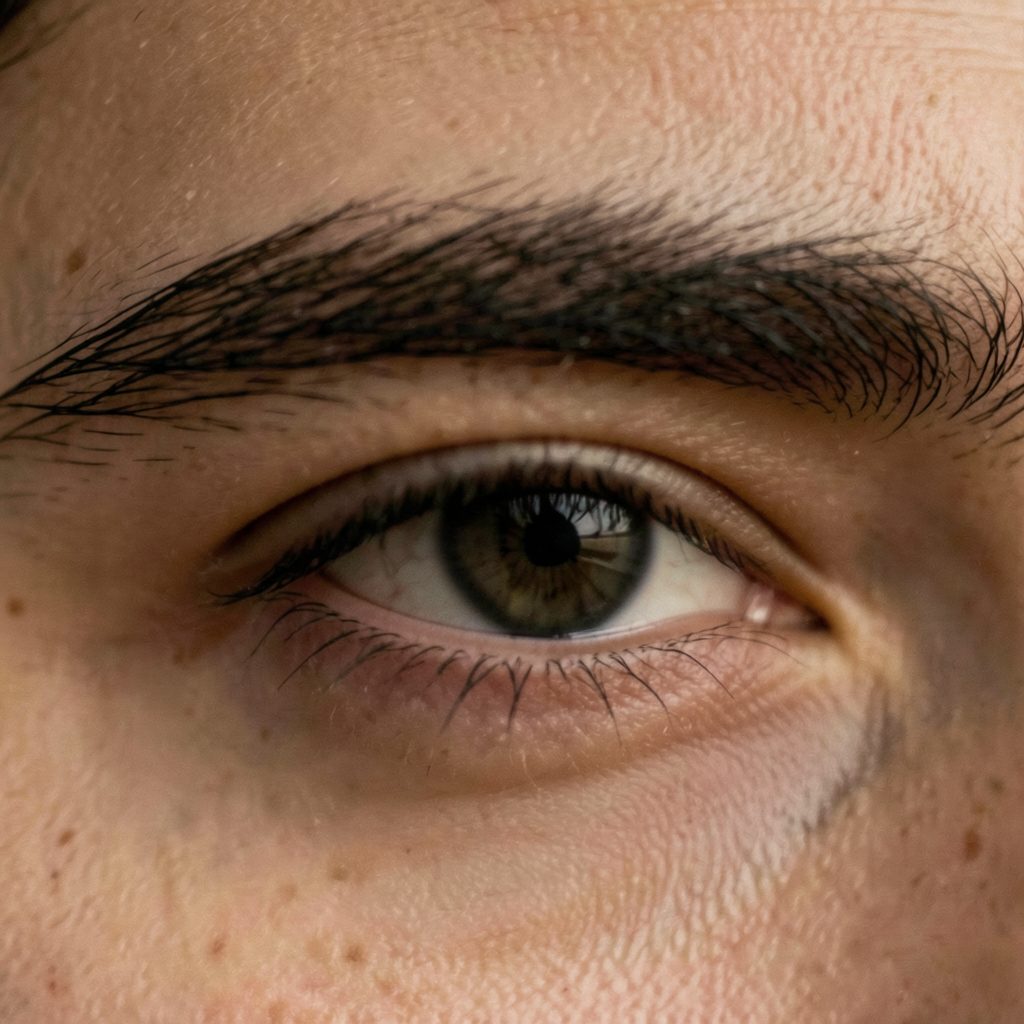
Hooded eyes are a natural eye shape where an excess piece of skin from the brow bone partially or completely covers the eyelid. The result can make eyes appear smaller or more tired than they feel.
This shape can be present from birth due to genetics, or it can develop over time. Known causes include aging, genetic traits, eye rubbing, body fatness, muscle structure, trauma, solar radiation, and sleep apnea.
If you've ever lined your eyes in front of the bathroom mirror, blinked, and watched a perfectly good wing disappear into the crease, you're not imagining things. Hooded lids swallow liner because the mobile lid skin folds down over the lashline, leaving little vertical space for product and even less for a flick that needs to face outward instead of down into the fold.
Tape tricks give you a built-in stencil. A small strip stuck at the outer corner becomes the lower edge of your wing, so you can paint freely without worrying about hand wobble, uneven angles, or that dreaded droop on the hood. Once you've tried it a few times, the muscle memory kicks in and you'll start relying on tape less, but getting there is much easier when the stencil does the heavy lifting.
Hooded eyes sit differently from round or almond shapes. The brow bone tends to be more prominent, and the skin above the lashes hangs low, which means your liner has to travel upward to be seen at all when your eyes are open. A wing drawn on a non-hooded eye points outward in a clean diagonal; on a hooded eye the same angle gets eaten by the fold the moment you relax your face.
Humidity makes it worse. Anyone in Brisbane or Sydney knows the summer can turn even a waterproof formula into a soft, smudgy line by lunch. Sweat, sunscreen reapplication, and the natural crease friction all push pigment around, so any wing has to be both geographically angled and well anchored to make it past morning coffee.
Another quirk is the crease depth. On some hooded eyes the fold sits low, almost touching the lashes. On others it's higher, leaving a generous "platform" you can play with. The tape trick still works in either case, it just changes where you anchor the strip. Knowing your own crease depth before you start saves you from trimming tape five times mid-routine.
Not all tape is created equal, especially around the eye. The wrong adhesive can tug, leave residue, or pull out a few lashes on the way out, none of which are fun at 7am before you head out for your morning flat white in Surry Hills.
Scotch tape or basic office sticky tape is the budget standby. It cuts cleanly with scissors, holds a sharp line, and most of us already have a roll in the kitchen drawer. The downside is the adhesive can be a touch too aggressive on delicate undereye skin, and it sometimes lifts foundation.
Washi tape is the gentle upgrade. A strip of matte washi gives you a soft edge and removes without drama. It comes in different widths, so you can cut one to suit the length of your wing. Beauty supply brands now sell pre-cut eyeliner stickers in packets, often stocked beside the mascaras at Priceline, and they're essentially washi in disguise, easier for travel than scissors, especially if you're heading down the coast for the weekend.
For best results, dab the sticky side on the back of your hand a few times before applying it to your face. This removes the strongest grab and leaves behind just enough hold to act as a guide without pulling skin.
Sweep your brush from the outer corner of your lower lashline up toward the tail of your brow. That imaginary diagonal is roughly where your wing should sit. If your hood is shallow, that angle can be quite steep. If it's deep, you'll want a longer, flatter slope so the flick reads as a flick rather than a continuation of the crease.
Try the look with your eyes open, not half closed. Most people instinctively tilt their head down to draw, which distorts where the wing actually lands when they look straight ahead. Stand at your mirror face-on. The mirror trick used in salons along Melbourne's Collins Street is the same: position the mirror slightly below eye level so you have to look down to see it, but the head stays level.
Draw an outline first with a brown or nude pencil if you're nervous. Lines drawn lightly in a soft kohl let you wipe off mistakes with a cotton bud without compromising the rest of your face. Only switch to black or your final product once the angle feels right.
Hold the tape against the outer corner, lining up its lower edge with the angle you mapped in the previous step. The strip should start near the outer third of the lower lashes and stretch upward toward the brow tail, ending roughly where you want the wing to point.
A common technique taught in Bondi workshops is to anchor the tape while pulling the skin slightly taut toward the temple. This flattens out the lid just enough to set the line firmly. Press the tape down with a fingertip so there are no lifted corners, because any gap will let liner bleed underneath.
For asymmetrical hoods, and they almost always are, adjust each side independently. Tape is reusable for a few goes, so cut two pieces and label them mentally as left and right. If one eye folds a little deeper, which you can read about in this asymmetry breakdown, the tape angles should mirror the difference rather than fight it.
Use a liquid pen or a small angled brush with gel for the cleanest edge. Gel pots tend to give more control if you have shaky hands, and many local artists swear by them for anyone with a hood because the formula is forgiving in the heat.
Paint from the lashline outward, building up to the tape rather than starting at the tape edge. That way the strip catches any over-extension and your hand never has to draw a freehand diagonal. For thickness, build in thin layers. Hooded eyes don't read well with chunky wings on the inner stroke; the visible space is at the outer edge, so let thickness taper outward.
Keep the line close to the lashes and let it thicken only as it approaches the tape. After the first pass, wait ten seconds for the formula to set before adding a second coat. If you're working with a regular eye pencil, finish by gently tracing over the dried line with a liquid product for sharpness.
This step undoes most of the work if you're not careful. Pull the tape slowly, with the skin held taut. If you yank it upward, you'll drag the fresh wing and lift pigment off the lid.
Hold the outer corner of the eye steady with one finger, then peel the tape toward the temple, away from the direction of the wing. The line that was being supported by the strip is now completely dry, so it should stay put. If a tiny bit smudges, dip a pointed cotton bud in a touch of micellar water and clean only that edge.
If you're going out straight after, set the wing with a matching powder shadow or a light mist of setting spray. The Australian afternoon humidity can still soften a liquid liner, particularly on the Gold Coast, so a final lock-in step is not optional during summer.
Tape is a starter tool, not a permanent crutch. After a few weeks of practice, your hand learns the angle naturally, especially if you keep drawing your wing the same way each time. Some artists working Adelaide's busiest freelance scene say they used tape for a year, then just stopped needing it.
If you find tape is leaving your undereye red, or you have very reactive skin, try a credit card or business card as a shield instead. You hold it against the outer corner, draw along the edge, and remove it once the liner sets. Same stencil idea, no adhesive at all.
The technique transfers well to lid liner too. When you want a soft cut crease without a wing, hold the tape along the crease line rather than the outer corner. The painted lid reads instantly because the edge is razor-sharp instead of feathered into the fold.
Practice once a week for a month and the tape becomes optional. By then you'll know the angle your lid wants, and the only thing tape will save you is a stray brush stroke on a rushed morning.
For more inspiration on making the most of a hooded shape, from everyday looks to camera-ready finishes, head to the hooded eyes blogs where the community pulls together techniques, celebrity breakdowns, and treatments worth knowing about.
Surgical Option
For those seeking a more lasting result, plastic surgery — including blepharoplasty — is covered as a treatment option for hooded eyes. Surgery addresses the excess skin directly and is considered an alternative to non-surgical approaches like Botox.
The site's surgery guide explains the procedure, what to expect, and how it compares to non-surgical routes, helping readers make informed decisions about their options.
Read the Surgery Guide →Famous Faces
Hooded eyes can enhance facial expressions and contribute to a distinctive, memorable look. These ten well-known figures all share the eye shape.
Jennifer Aniston
Leonardo DiCaprio
Solange Knowles
Taylor Swift
Michelle Williams
Robert Pattinson
Blake Lively
Selena Gomez
Gigi Hadid
Benicio del Toro
Side by Side
False Lash Guide
Varied length spikes create texture and the illusion of depth without weighing down the lid.
Longer outer-corner lashes draw the eye outward and upward, counteracting the hood effect.
A uniform, moderate length that adds definition without overwhelming a hooded lid.
Applied only to the outer half, these open up the eye shape and are easier to manage on hooded lids.
A strong upward curl (D or L curl) lifts lashes away from the hood, keeping them visible throughout the day.
The guide also covers lash curlers, mascara recommendations, and step-by-step instructions for fixing false lashes on hooded eyelids.
Full Lash Guide →Get in Touch
Whether you are just beginning your makeup journey or have been experimenting with different looks for years, we are glad you are here.
General Feedback
Share your thoughts on the site or suggest topics you'd like covered.
Looking for a Specific Tip?
Ask about a particular technique or eye-shape challenge.
Product Questions
Questions about products mentioned across the site.
Human Resources or Business Inquiries
Partnership, collaboration, or business-related correspondence.